by PREPARE Magazine Editorial Team | Apr 5, 2025 | Meet Our Contributors
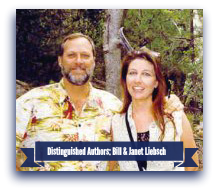 We are honored to have Bill & Janet Liebsch among our list of Distinguished Authors. Bill & Janet have co-authored dozens of articles for PREPARE Magazine’s Digital and Print Issues. They have been actively involved in helping build the backbone of PREPARE Magazine since the Spring of 2012. We would like to invite you to get to know Bill & Janet better as we attempt to summarize all that they have to offer you and first responders in order to be well equipped and prepared for any disaster.
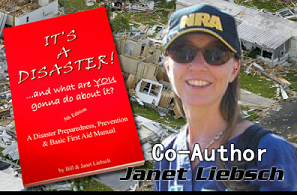
Bill and Janet literally wrote the book! They have simplified the vastness of being prepared into an easy to follow reference book. It’s not a novel or fluff – this is a book chock full of easy reference scenarios. You may find yourself faced with an emergency situation and need these simple steps to help you to focus on the situation at hand. “IT’S A DISASTER! …and what are YOU gonna do about it?” is our favorite ‘go-to’ reference book.
Bill & Janet Liebsch are the founders of FedHealth formed in 1999 to help the public focus on preparedness and health-related issues. We also are the authors and publishers of “IT’S A DISASTER! …and what are YOU gonna do about it?” and are dedicated to developing programs that primarily benefit First Responders, schools and volunteers. Get a sample of the content with this free mini-ebook HERE
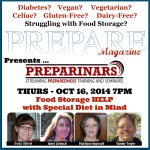
Back in October of 2014, Janet was one of our guests on a Preparinar that dealt with Food Storage for people with Restrictive Dietary Needs.
Bill is living with Celiac Disease and recovering his health through dietary diligence. So Janet joined us to talk about Planning to Survive & Thrive with Celiac Disease. Her portion of the Preparinar is now one of the top viewed Video Trainings in the growing Premium Member Library Archive
Below is an opportunity to hear directly from Janet about the journey Bill & she have been on. Listen to how they began working on the reference book, working with First Responders all over the Nation, what they have to offer a community for support and fund raising and their goals and plans of the future:
Here are some other great ways to connect with Bill & Janet Liebsch:
It has been our honor here at PREPARE Magazine to work with Bill & Janet for these many years as fellow missionaries spreading the message of Positive Preparedness, Community and Knowledge. We hope you will connect with them and benefit from their level-headed advice in times of chaos.
Popular Questions
What contributions have Bill & Janet Liebsch made to preparedness literature?
Bill and Janet Liebsch have co-authored numerous articles for PREPARE Magazine, focusing on disaster preparedness and health-related issues. Their book, "IT'S A DISASTER! …and what are YOU gonna do about it?" serves as a practical guide for individuals facing emergencies. They have simplified complex preparedness concepts into actionable steps, making it easier for readers to respond effectively in crisis situations.
How did Bill & Janet Liebsch start their journey in disaster preparedness?
Their journey began with the founding of FedHealth in 1999, aimed at promoting public awareness about preparedness and health. Since then, they have actively engaged with first responders and communities to develop programs that support disaster readiness. Their experiences and insights have shaped their writing and outreach efforts, making them influential figures in the preparedness community.
What resources do Bill & Janet Liebsch offer for first responders?
Bill and Janet provide a wealth of resources tailored for first responders, including their reference book and various training programs. They focus on practical scenarios and strategies that first responders can utilize in emergencies. Their commitment to supporting these professionals is evident in their ongoing efforts to create informative content and training sessions.
How can individuals connect with Bill & Janet Liebsch for more information?
Individuals can connect with Bill and Janet through their blog at www.itsadisaster.org, where they share valuable insights and updates. They are also active on social media platforms like Facebook and Twitter, providing a space for community engagement. Additionally, signing up for their free newsletter offers subscribers access to informative content directly related to preparedness.
What is the significance of the mini-ebook offered by Bill & Janet Liebsch?
The free mini-ebook serves as a sample of the comprehensive content found in their main reference book. It provides readers with essential tips and strategies for disaster preparedness, making it a valuable resource for anyone looking to enhance their readiness. This mini-ebook reflects their dedication to educating the public and supporting individuals in emergency situations.
by PREPARE Magazine Editorial Team | Apr 5, 2025 | Blog
 We are very pleased to announce that we will soon be offering a hard-copy print version of PREPARE Magazine. We have met with our publisher and feel confident that we will be able to release this new version in July. We are excited.
We will continue to offer the monthly digital version. The new hard-copy print version will be printed bi-monthly (every other month) on high-quality paper and delivered by US Postal service. The publication will contain some elements from the monthly digital versions, but will include new feature sections and fresh content. It will be a larger publication and will not be a duplication of the digital version.
We will begin taking subscriptions for this new hard-copy version soon. We will offer a special introductory period for our “Founding Subscribers” – those who are currently subscribed to the monthly digital version of PREPARE Magazine. Be sure to keep an eye out for the subscription email.
by PREPARE Magazine Editorial Team | Apr 5, 2025 | Blog, Coming Issue Updates, Premium Membership Updates
The November edition of PREPARE Magazine has been released and is now available in the Premium Members area. Go to: http://www.preparemember.com/november-2013-current-publication/ For PREPARE monthly subscribers who have not registered as Premium Members, the November issue will be available by November 7. You will receive notice via email.
The November release is an excellent publication with the theme centered around… Preparedness for Winter and survival skills in harsh weather.
Each month, PREPARE Premium Members receive early access to monthly publications along with special feature releases and training webinars. For those who are interested in more information on a Premium Membership, go to: http://www.preparemembers.com
by PREPARE Magazine Editorial Team | Apr 5, 2025 | Blog
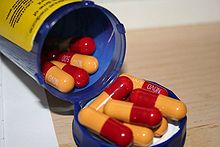 Are Antibiotics really the ‘Bad Guys’ that they now seem to be? Well, the answer may surprise you.
There are many different kinds of antibiotics. There are antibacterials, antivirals, antifungals, and antiparasitics. Each fight different types of (potentially) harmful organisms. The word antibiotics actually means “against life”. Which makes sense, because the life thing it is against is, in these cases, are living microbes.
A case for antibiotics:
“Even though the body’s disease-fighting immune system can often successfully fight off bacterial infections, sometimes the germs (microbes) are too strong and your child can get sick. For example,
- Before antibiotics, 90% of children with bacterial meningitis died. Among those children who lived, most had severe and lasting disabilities, from deafness to mental retardation.
- Strep throat was at times a fatal disease, and ear infections sometimes spread from the ear to the brain, causing severe problems.
- Other serious infections, from tuberculosis to pneumonia to whooping cough, were caused by aggressive bacteria that reproduced with extraordinary speed and led to serious illness and sometimes death.” According to – http://www.healthychildren.org/
A case against antibiotics:
In our recent history, antibiotics were prescribed far too frequently. Now, many physicians will wait for symptoms to improve or worsen on their own before prescribing an antibiotic. Why? Because the microbes adapt. When offered antibiotics frequently they ‘learn the code’, so to speak, and become resistant. When dosing improperly such as taking someone else’s prescription or not finishing a full prescription in it’s entirety, the microbes also adapt and resist the next attempt to use an antibiotic.
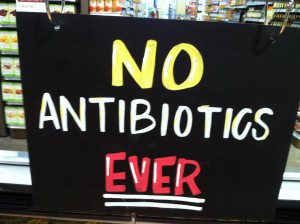
Another case against antibiotics is their use in animals we consume as food. This injection of antibiotics, though indirect, still has the same effect on the microbes that attack our body’s system. Meat or dairy raised with antibiotics – pass those antibiotics on to us when consumed.
A case for new antibiotics:
Once thought of as miracle drugs, antibiotics now are a treatment to be handled with more precision and care than previously thought. Gone is thought process that there is a blanket cure of “one drug kills all. We’re just not doing that anymore. Or are we? Below is a short article written by Dr. Joe Alton (aka: Dr. Bones) that introduces us to a new antibiotic that is not yet released.
Teixobactin, A New Antibiotic
by Joe Alton, M.D. of www.doomandbloom.net
There is an epidemic that I’ve mentioned in past articles, and it has spread to every continent: the epidemic of antibiotic resistance. Overuse of antibiotics in both humans and livestock (80% of antibiotics go to animals we eat) has resulted in drug-resistant strains of various microbes, including tuberculosis and salmonella.

80% of antibiotics go to livestock
In the last few years, no new antibiotics have come down the pipeline. Some current drugs are in their fourth generation, as pharmaceutical companies tweak existing medicines to gain time before the next resistant bug appears. This standstill bodes badly for a world that’s accustomed to technology moving at a faster pace every year. The era of totally drug resistant diseases may be dawning: A variant of tuberculosis in India that defies every method of treatment already exists.
A rare bit of good news, however, on the antibiotic front is the discovery of the first truly new antibiotic in decades: Teixobactin. It wasn’t born in a laboratory; it was found in the dirt beneath your feet. Researchers have suspected that the soil’s bacteria might have much to teach us regarding how to fight disease. Different species of bacteria battle each other every day. Most bacteria, however, don’t grow well in laboratories.
Now, the journal “Nature” reports that scientists have figured out how to grow previously un-culturable bacteria using an electronic “isolation chip”. They report that they have isolated a new antibiotic, Teixobactin, which they claim has no detectable resistance issues. It apparently works well against organisms that have become hardened to standard antibiotics, like Staph. Aureus and Tuberculosis.
There are millions of unc ultured bacteria in the soil that are yet to be grown and investigated. This new method of isolating these bacteria may lead to a number of new antibiotics. As well, other medicines for treatment against cancer, inflammation, and immune issues may one day be developed; it’s been described as the “tip of the ice berg”.
Teixobactin and other drugs are still in the FDA pipeline, so it’ll be a while before you’ll be given a prescription for it. Serious side effects have to be ruled out before it goes to the general public. Let’s hope that this new method will lead to more breakthroughs.
by Joe Alton, M.D. of www.doomandbloom.net
No matter what the future holds or the past may have taught us, it’s clear to see that how we use or misuse antibiotics plays the bigger roll in their effectiveness for our health. Be sure to treat yourself, your medications and your loved ones in need of medical attention with respect.
Subscribe to PREPARE Magazine
Popular Questions
What is the fastest way to improve Are Antibiotics Really the Bad Guys? without making beginner mistakes?
The fastest way to improve Are Antibiotics Really the Bad Guys? is to simplify the process and control one variable at a time. Start with the most important baseline: define the goal, identify the main failure point, and test one change before making another. Keep short notes so you can connect the outcome to the adjustment you made.
What should you check first when Are Antibiotics Really the Bad Guys? is not working well?
Check the most immediate bottlenecks first: setup errors, missing inputs, bad timing, or inconsistent follow-through. Before buying anything new or changing the whole system, confirm that the basics are being done correctly and consistently. A small diagnostic checklist usually reveals the real problem faster than broad trial and error. Once the weak point is clear, make one correction and watch the result before adjusting anything else.
What common mistakes make Are Antibiotics Really the Bad Guys? harder than it needs to be?
The most common mistakes are changing too many variables at once, skipping the basics, and judging results too quickly. Many people also copy generic advice without adapting it to their exact situation, which leads to weak results and confusion. A better approach is to work from a simple baseline, make measured changes, and give each change enough time to show whether it helped. That makes progress easier to track and repeat.
by PREPARE Magazine Editorial Team | Apr 5, 2025 | Blog, Guest Bloggers
The Zika Virus, Natural Mosquito Repellent & Bite Remedies
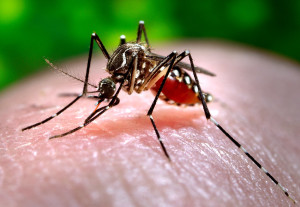
Mosquitoes and Mankind
Click by 3/21/2016 for this FREE Digital Issue!
Guest Blog Post by: PREPARE Magazine Author – Snake Blocker of Blocker Academy
Mosquitoes, they are not going away. You either live in an area where mosquitoes live like kings and queens in humid environments, or you have visited a place such as this. These mosquitoes, like vampires, suck! An old Apache legend states they were not indigenous to the Turtle Island (the Americas) until the last Great Bear died and reincarnated into millions of mosquitoes that when combined, formed the shape of the Sacred Great Bear. The Great Bear was killed by a disrespectful Apache youth, so in revenge, the next season the bear formed massive swarms of mosquitoes to suck the life blood out of the entire tribe, bite by bite.
So what do we do without playing around with chemicals? The answer my friend is blowing in the wind (or in this article). Mosquitoes usually like non-locals over locals, just like I like an occasional Asian or Mexican dish. They also tend to prefer excessive-fat people over lean-fit people.
Recommendations for repelling mosquitoes:
- Cover up any and all exposed skin
- Rub cinnamon oil on your skin and drink cinnamon tea and/or eat ground cinnamon
- Rub lemon grass oil on your skin and/or spray it on your clothes
- Drink vanilla mixed with olive oil
- Eat Garlic and/or rub garlic on your clothes
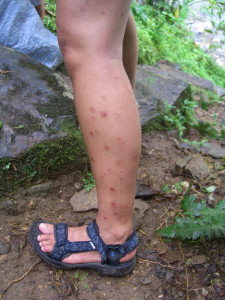
Recommendations for mosquito bites to prevent and minimize itching:
- Rub tea tree oil on all exposed areas where itching is occurring
- Bathe in water mixed with lavender oil (warm water) and/or rub on affected areas
- Place spit and urine (hopefully your own) on affected areas to give some temporary comfort, if nothing else is available
- Rub peppermint oil on affected areas
- Place paste of baking soda mixed with a little purified water on affected area to draw out the irritants
Remember, thousands of people die each year from mosquitoes as they can transmit disease and cause many illnesses, which can be fatal to unfit people and fit people alike. When things go from bad to worst with climate changes and worse case scenarios, mosquitoes will increase in number and deadliness.
Be prepared my friend, be prepared!
CLICK IMAGE ABOVE to Subscribe by 3/21/16 to receive this FREE Digital Issue! After 3/21/16 – Only Premium Members have Access to Previous Issues so CLICK IMAGE BELOW.

——————————
Snake Blocker is a member of the Lipan Apache Tribe of Texas, is an accomplished martial artists and Apache Historian. He has served in the U.S. Navy since June 2001 and did tours in Kuwait, Iraq and Afghanistan. He is the featured instructor in several videos and promotes his signature line of survival products and knives. Snake has been featured on Deadliest Warrior “Apaches versus Gladiators” and Doomsday Preppers “In the Hurt Locker”. He hosts “Snake Blocker Survival” on Preparedness Radio Network.
Popular Questions
What are effective natural mosquito repellents to protect against the Zika virus?
To protect yourself from the Zika virus, consider using natural mosquito repellents like cinnamon oil and lemongrass oil. Applying these oils to your skin or clothing can help deter mosquitoes. Additionally, consuming cinnamon in tea or as a spice may enhance your body’s natural defenses against bites. Garlic is another option; eating it or applying it to your clothes can further reduce your attractiveness to these pests.
How can I relieve itching from mosquito bites naturally?
For natural relief from mosquito bite itching, try applying tea tree oil directly to the affected areas. Another effective remedy is to bathe in warm water mixed with lavender oil, which can soothe irritation. If you’re in a pinch, creating a paste from baking soda and water can help draw out irritants and reduce discomfort. Peppermint oil is also beneficial for its cooling effect on itchy skin.
What precautions should I take to avoid mosquito bites in Zika-prone areas?
When in areas where the Zika virus is prevalent, it’s crucial to cover exposed skin with long sleeves and pants. Using natural repellents like lemongrass or cinnamon oil can provide additional protection. Staying indoors during peak mosquito activity times, such as dawn and dusk, can also minimize your risk. Make sure to eliminate standing water around your living area to reduce mosquito breeding sites.
Are there any home remedies for preventing mosquito bites?
Yes, several home remedies can help prevent mosquito bites. Rubbing garlic on your skin or consuming it can make you less appealing to mosquitoes. Additionally, mixing vanilla with olive oil and applying it can act as a natural repellent. Keeping your environment clean and free of stagnant water is also essential in reducing mosquito populations.
What should I do if I suspect I’ve contracted the Zika virus?
If you suspect you’ve contracted the Zika virus, it’s important to seek medical attention promptly. Symptoms can include fever, rash, joint pain, and conjunctivitis, which may require professional evaluation. In the meantime, focus on staying hydrated and resting. Avoid mosquito bites to prevent further transmission, especially if you are in a Zika-prone area.
by PREPARE Magazine Editorial Team | Apr 5, 2025 | Blog, Digital Announcements
Ready or Not, the New Year Begins…
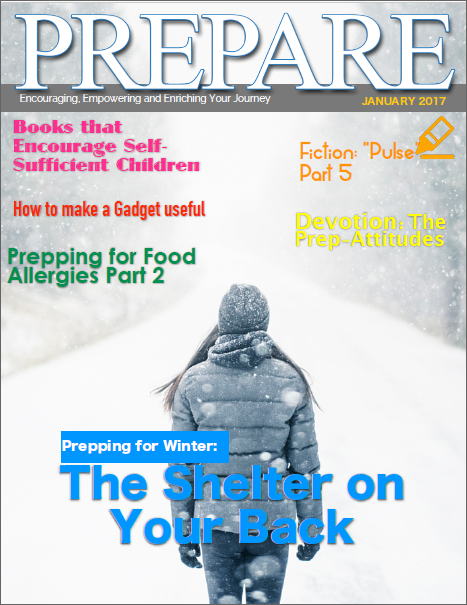
Get this exact Digital Issue by clicking and subscribing before February 15, 2017 – You’ll also get each new digital after that! FREE!
The list is virtually endless when it comes to what area of life preparedness planning touches. Each month we attempt to focus on a main theme, yet inevitably the theme expands and other areas of necessity come to mind.
PREPARE Magazine is designed to give an overview of preparedness options in multiple areas of our lives. As with any topic, there will always more to be studied, more to be tried, more to be practiced and perhaps even a better way to do something that suits your needs specifically. But the fact of the matter remains; in every area of life if we are oblivious to the need to prepare for a contingency we are doing a disservice to ourselves, our loved ones and our community.
Preparedness living isn’t quite compartmentalized into bunkers or food storage. It is a mindset, a practiced skill of looking at contingencies. And as we all know, a potential contingency can change at any moment, in any area of life.
Just think of the many roles you may have in your own life. You likely wear many hats. You are not merely an employee or entrepreneur, you are not the job you hold, you’re not merely your education, you’re not merely a father, mother, husband, wife, brother, son, sister, or daughter. Each role you have has its responsibilities, it’s joys, its struggles and it’s rewards. And preparedness looks different from each and every angle of each and every role you or I have in this life.
Our goal here at PREPARE Magazine is to help you be encouraged in whatever role you have in life to enjoy the preparedness journey of your own choosing. The authors, designers, founders and support team all want to inspire you to think for yourself and be spurred on to prepare in areas that you feel are important. And yes, we know…there are many.
Here’s to a Happy New Year of Preparedness – Your Way!
Do you feel like you’re missing something? You don’t have to… Take a look below…
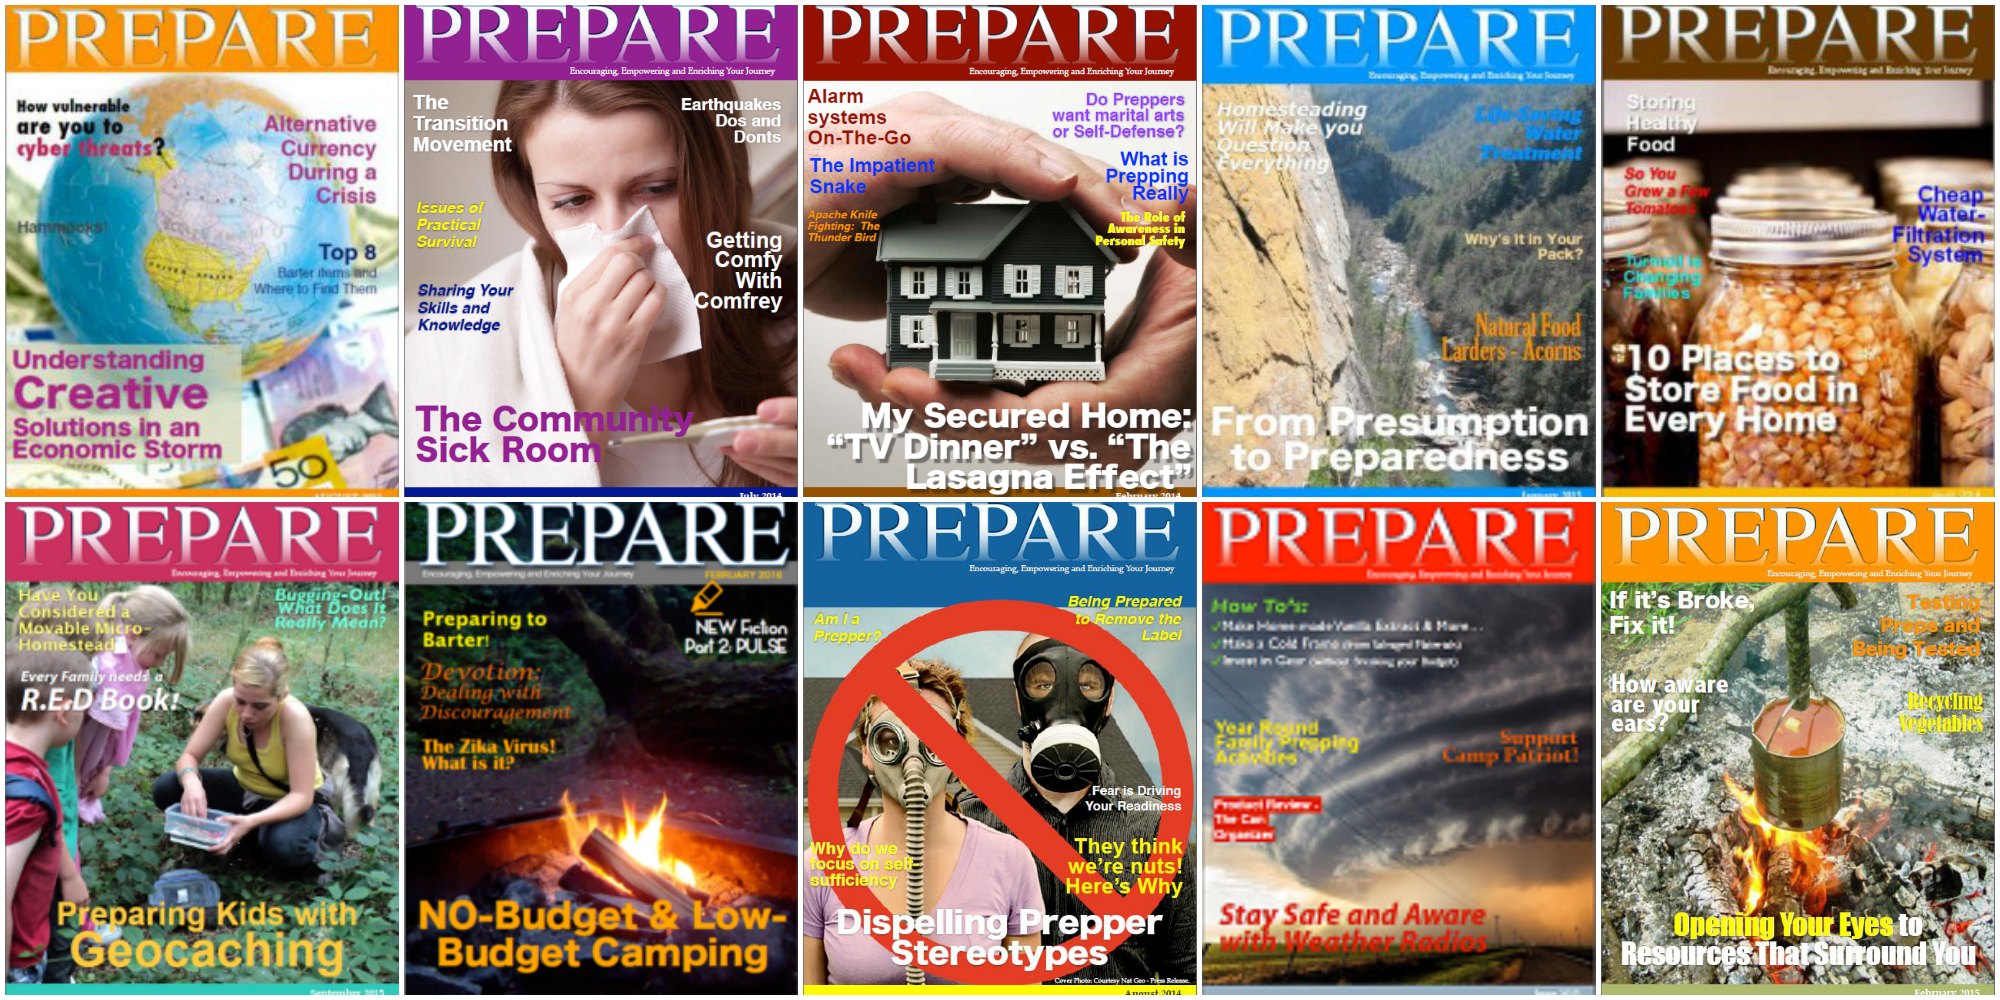
For those who are new to our PREPARE Magazine Family who want to see what you’ve missed, you can! We have over 40 Digital Issues archived (plus more material and downloading, printing capabilities) all available for PREPARE Premium Members.
Popular Questions
How can I prepare for the New Year effectively?
To prepare effectively for the New Year, start by assessing your current preparedness levels in various areas of your life. Identify specific roles you play, such as a parent, employee, or community member, and consider what contingencies might arise in each. Create a plan that addresses these potential challenges, ensuring you have the necessary resources and skills to respond. This proactive approach will help you enter the New Year with confidence and readiness.
What are some key areas of life to focus on as the New Year begins?
As the New Year begins, it's essential to focus on areas such as financial preparedness, emergency planning, and personal health. Each of these aspects plays a crucial role in your overall readiness for unforeseen events. Take time to evaluate your current situation in these areas and set specific goals for improvement. This holistic approach will enhance your preparedness journey throughout the year.
Why is a preparedness mindset important as the New Year starts?
A preparedness mindset is vital as the New Year starts because it encourages proactive thinking about potential challenges. By adopting this mindset, you can better anticipate and plan for various contingencies that may arise in your personal and professional life. This approach not only benefits you but also positively impacts your loved ones and community. Embracing this mindset can lead to a more resilient and fulfilling year ahead.
How can I inspire others to be prepared in the New Year?
To inspire others to be prepared in the New Year, share your own preparedness journey and the lessons you've learned along the way. Encourage open discussions about the importance of planning for contingencies and the benefits of being proactive. You can also provide resources, such as articles or workshops, that help others understand the various aspects of preparedness. By leading by example, you can motivate those around you to take their preparedness seriously.