
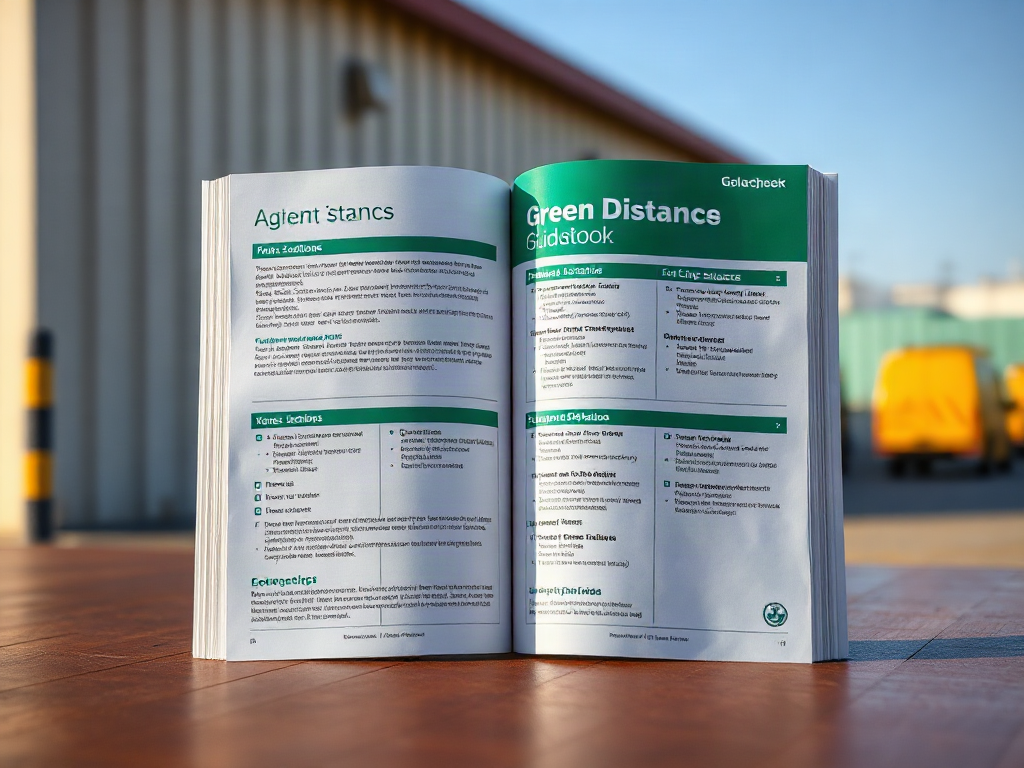
The Emergency Response Guidebook green section lists initial isolation and protective action distances for materials that may release toxic gases when inhaled or when they contact water. Responders use the UN identification number, material name, or shipping information to locate the correct entry, then check whether the incident is a small or large spill and whether it occurs during the day or night. The table helps define an immediate hazard area and a larger downwind protective-action zone, but it does not replace atmospheric monitoring, specialist advice, or incident-command judgment. Wind direction, changing weather, container damage, terrain, and the substance’s physical behavior can all alter the practical response.
What the Green Section Covers
The green section of the Emergency Response Guidebook is a specialized reference for certain toxic inhalation hazards. Unlike the orange section, which provides response guidance for a four-digit identification number or material name, the green pages provide distances for immediate isolation and protective action. Those distances are designed for early incident management when a dangerous release may threaten people downwind.
The section is particularly relevant to materials that can produce toxic concentrations in the air. Some entries involve toxic gases transported as gases or liquids under pressure. Others address substances that can generate a toxic inhalation hazard after contact with water. The practical question is not simply whether a container is labeled hazardous; it is whether the released material could create a dangerous airborne exposure zone.
Each green-page entry normally separates two decisions. Initial isolation identifies the area immediately surrounding the release where people should be kept away. Protective action identifies the downwind area where evacuation or sheltering may need to be considered. The second area is directional, not a perfect circle, because airborne contamination generally follows the wind rather than spreading evenly in every direction.
A common mistake is treating the green section as a complete incident plan. It is not. It does not tell an untrained person to approach a leaking cylinder, select respiratory protection, enter a contaminated building, or perform a technical rescue. It gives an initial distance-based basis for protecting the public while responders identify the substance, assess conditions, establish command, and obtain more specialized support. The Emergency response guidebook green section explained is most useful when read as an early-action tool rather than a substitute for field assessment.
How to Read Isolation and Protective Action Distances
Reading a green-page table begins with identification. Use the shipping label, container markings, transport documents, or a confirmed UN identification number whenever available. The orange section may direct the reader to a green-page table; the green page then supplies the distance information associated with that material. If the identity is uncertain, selecting a similar-looking chemical can create a dangerous false sense of precision.
The table commonly distinguishes between a small spill and a large spill. That distinction reflects the amount of material available to become airborne and the potential duration of the release. A damaged package leaking a limited quantity is not automatically low risk, but it may produce a different initial zone from a ruptured cargo tank or pressurized container. The table also separates daytime and nighttime conditions because atmospheric mixing can differ substantially between those periods.
Look for three pieces of information:
- Initial isolation distance: the near-release area that should be cleared or controlled.
- Protective action distance: the downwind distance where people may need to evacuate or shelter.
- Release category: the table’s small-versus-large-spill and day-versus-night columns.
These values should be applied in the direction of the current wind, with access controlled around the source. For example, a release from a damaged tank truck on a road may require a tight exclusion area around the vehicle and a longer downwind zone extending along the roadway or across nearby properties. A circular perimeter alone could leave people downwind inadequately protected while unnecessarily restricting areas that are crosswind or upwind.
Do not confuse the protective-action distance with a guaranteed boundary between safe and unsafe air. It is an initial planning value, not a measurement of actual concentration at every point. Wind shifts, intermittent leaks, thermal effects, buildings, hills, and drainage corridors can produce uneven movement. A monitored reading, updated weather observation, or specialist assessment may justify expanding or reshaping the area. The green-section reference supplies a starting geometry; incident personnel must keep testing whether that geometry still matches the event.
Why Day, Night, Wind, and Spill Size Matter
Atmospheric conditions control how quickly a released substance disperses and how far a hazardous concentration may travel. During stable conditions, especially at night, released vapors may mix less readily with surrounding air. A smaller release can therefore remain concerning over a longer downwind distance than it might under stronger daytime mixing. The table’s day and night distinctions account for this broad atmospheric difference without pretending that every local weather pattern is identical.
Wind direction is equally important. A protective-action zone should be projected downwind from the release, but the wind must be checked repeatedly. A breeze that changes direction can move the hazard toward a neighborhood, roadway, school, or workplace that was initially outside the zone. Responders should watch for changing wind, visible vapor movement where applicable, weather updates, and reports of irritation or breathing difficulty. Public movement should not be directed into an area merely because it was initially upwind.
Spill size is more than a label on a chart. A small leak may continue for hours, while a large release may produce an intense plume quickly. A small spill near a crowded indoor facility can present a more complicated public-protection problem than a larger outdoor release in an open area. Buildings may offer shelter from moving air in some situations, yet they can also trap a contaminant or draw it through ventilation systems. The correct choice between evacuation and sheltering depends on the substance, release behavior, building conditions, and instructions from authorities.
Consider a nighttime release from a cylinder near a commercial district. The initial instinct may be to clear only the parking lot. The green table may indicate a broader downwind protective-action distance, and nearby buildings may complicate movement if people leave through doors facing the plume. In that situation, responders may need to control traffic, prevent self-evacuation through the affected area, and coordinate building-specific instructions rather than issuing a generic “leave now” message.
The opposite error is using the nighttime value automatically during the day or applying the largest value without identifying the material and release category. Conservative action can be appropriate when information is missing, but arbitrary distances can obstruct emergency access, move people toward the hazard, or overwhelm available shelter. Sound decisions combine the table with current observations instead of treating a printed number as self-executing.
Using the Tables Without Creating New Risk
The green section is intended to support trained emergency response, not encourage public approach or improvised chemical investigation. Anyone outside the response organization should move away from the suspected release, avoid entering vapor or spill areas, keep others from approaching when this can be done safely, and follow official evacuation or shelter instructions. Calling emergency services from a safe location is more useful than trying to identify a placard at close range.
Responders must manage two hazards at once: the material itself and the behavior of people around it. Crowds may gather to watch, drivers may attempt to pass through a closed road, and occupants may open doors or windows without knowing whether the plume is moving toward them. Clear perimeter control and plain-language instructions can reduce secondary exposure. The person giving directions should specify where people should go, which routes are closed, and whether they should remain indoors or evacuate.
Identification uncertainty deserves special attention. A chemical name can be misread, a placard can be obscured, or a shipping document can describe a different load than the damaged container. If two materials have different toxic-inhalation characteristics, choosing the wrong table may produce an unsafe distance. When information conflicts, responders should communicate the uncertainty and seek qualified hazardous-materials support rather than quietly selecting the most convenient entry.
Another failure mode is assuming that an odor is a reliable warning. Some hazardous substances have weak, delayed, or easily fatigued odors, while odor can also be detected at levels unrelated to the table’s protective-action thresholds. Lack of smell does not establish safety, and a strong smell does not by itself define the correct perimeter. Air monitoring and professional assessment are more dependable than personal sensory judgment.
The reference also should not be used to decide whether a contaminated person is safe to touch, whether a building can be reoccupied, or whether cleanup is complete. Those questions require task-specific procedures and appropriate protective equipment. The guidebook’s green tables help with initial public-protection distances; they do not certify an area as cleared.
A Practical Green-Section Decision Checklist
A disciplined sequence reduces errors when time and information are limited. The goal is to obtain a defensible initial zone, communicate it, and update it as conditions change.
- Identify the material: confirm the UN number, shipping name, container type, and whether the release involves contact with water.
- Locate the correct green-page entry: verify that the table matches the material rather than relying on appearance or an approximate name.
- Classify the release: determine whether the table’s small or large spill category is appropriate, while recognizing that uncertainty may require a cautious initial posture.
- Apply the day or night value: use the relevant column and record the time and weather conditions used for the decision.
- Map the wind: establish the initial isolation area around the source and project the protective-action area downwind.
- Control movement: prevent people from walking, driving, or evacuating through the projected plume.
- Reassess: update the perimeter when wind shifts, the leak changes, monitoring becomes available, or the material identification improves.
The checklist is not a replacement for an incident command system or hazardous-materials training. It is a way to avoid skipping the basic logic behind the table. A responder who writes down the material, spill category, time, wind direction, and assumptions can explain why an initial boundary was selected and can recognize when that boundary no longer fits.
For households and workplaces, the most useful preparation is familiarity with official alerts, shelter locations, evacuation routes, and access to current emergency information. Keeping an old printed guidebook is not enough if people do not know how to receive local instructions or account for children, mobility limitations, visitors, and pets. Public guidance should come from emergency management or responders during an actual release, because local conditions may override a distance read from the table.
Frequently Asked Questions
What is the green section of the Emergency Response Guidebook?
It contains initial isolation and protective action distances for selected toxic inhalation hazards, including some materials that can create toxic gas when they contact water.
What is the difference between isolation and protective action?
Isolation controls the area immediately around the release. Protective action addresses the larger downwind area where evacuation or sheltering may be needed.
Why does the green table separate day and night?
Atmospheric stability and mixing can differ between day and night, affecting how a hazardous plume disperses and how far it may travel.
Can the green section tell me whether it is safe to enter?
No. It provides initial public-protection distances, not entry clearance, respiratory-protection selection, decontamination instructions, or final site release.
What should a member of the public do after seeing a suspected toxic release?
Move away without entering the plume, avoid blocking responder access, contact emergency services from a safe location, and follow official evacuation or shelter directions.
Conclusion
The green section turns a material identification into an initial distance-based protective decision. Its most important distinctions are the near-release isolation area, the larger downwind protective-action zone, the small-versus-large spill category, and the day-versus-night condition. Those values are starting points, not permanent borders or permission to enter.
Use the correct material entry, map the current wind, keep people out of the projected plume, and expect the boundary to change as weather, leakage, monitoring, and identification change. Members of the public should retreat and follow official instructions rather than attempt chemical identification or rescue. Responders should pair the guidebook with training, monitoring, command coordination, and specialist support. That combination makes the reference useful without giving a printed table more certainty than the incident can support.
Additional Resources
Authoritative Sources
- American Red Cross Emergency Preparedness
redcross.orgPractical emergency preparation, safety, and supply guidance for households.