Understanding how much cash to keep for emergencies is crucial for financial stability. Factors such as job security, the presence of dependents, and existing savings can influence this decision. Many individuals underestimate their cash needs, often relying on credit or loans during emergencies. It’s essential to assess your unique situation to determine an appropriate amount.
One common mistake is to keep too little cash, thinking that credit cards or loans are sufficient. This can lead to financial strain when unexpected expenses arise. Alternatively, holding excessive cash can result in missed investment opportunities or lower returns. Striking a balance based on your personal financial situation is key.
Assessing Your Monthly Expenses
To determine how much cash to keep for emergencies, start by assessing your monthly expenses. List all essential costs, such as housing, utilities, food, transportation, and healthcare. This total gives you a baseline for how much cash you might need in case of an emergency.
Many people overlook variable expenses like maintenance, unexpected medical bills, or job loss. It’s crucial to include a buffer for such unforeseen costs, often leading to a recommendation of three to six months’ worth of total expenses. This ensures you can maintain your lifestyle during challenging times.
When calculating your expenses, consider your lifestyle and family dynamics. For instance, families with children or those caring for elderly parents may require a larger cash reserve than single individuals. Always prioritize a realistic understanding of your financial obligations.
Evaluating Your Income Stability
Your income stability significantly impacts how much cash you should keep for emergencies. If you have a steady job with a reliable income, you might feel comfortable having three months’ worth of expenses in cash. However, if you’re self-employed or work in a volatile industry, consider extending this to six months or more.
In uncertain job markets, having a larger cash reserve can provide peace of mind. It allows you to navigate job transitions or unexpected layoffs without immediate financial strain. Analyze your job security and market conditions to make informed decisions about your cash reserve.
Remember, the goal is to safeguard your financial health. A sudden loss of income can lead to financial stress, so your cash reserves should reflect the realities of your employment situation. Adjust your cash needs based on potential risks in your industry.
Cash Accessibility and Safety
Accessibility and safety of your cash are vital considerations. It’s essential to keep emergency funds in a place where you can access them quickly without penalties. High-yield savings accounts or money market accounts are popular choices, as they offer liquidity and some interest accumulation.
However, storing cash at home or in non-interest-bearing accounts can lead to lost opportunities for growth. Weigh the pros and cons of different accounts to determine the best fit for your emergency cash. Balance the need for quick access with the desire for some returns on your savings.
Keep in mind that while cash should be accessible, it should also be secure. Avoid keeping large amounts at home, as this poses risks of theft or loss. Utilize bank accounts with FDIC insurance for added security, ensuring your funds are protected.
Common Mistakes to Avoid
Many individuals make common mistakes when deciding how much cash to keep for emergencies. One frequent error is underestimating expenses, leading to insufficient cash reserves during crises. Regularly reassess your budget and adjust your emergency fund accordingly.
Another mistake is misplacing cash in accounts that are hard to access or that incur penalties for withdrawals. Ensure your emergency funds are in accounts that are both safe and easy to access. Additionally, avoid the trap of relying solely on credit for emergencies; cash on hand provides immediate security.
In closing, don’t forget to review your emergency fund periodically. Life circumstances change, and your cash needs may evolve. Stay proactive in managing your emergency funds to ensure they meet your current situation.
Further Reading
For more insights into financial planning and emergency preparedness, consider these resources:
Authoritative Sources
Consumer Financial Protection Bureau consumerfinance.gov
This bureau offers guidelines on budgeting and financial preparedness
Nolo nolo.com
Nolo provides legal advice and resources for managing personal finance
Investopedia investopedia.com
A comprehensive resource for financial education and investment strategies
Frequently Asked Questions
How much cash should I keep for emergencies?
Generally, aim for three to six months’ worth of living expenses, adjusted based on personal circumstances.
Where should I keep my emergency cash?
Consider high-yield savings accounts or money market accounts for easy access and some interest.
What expenses should I include in my calculations?
Include all essential monthly expenses like housing, utilities, food, and transportation.
How often should I reassess my emergency fund?
Regularly review your financial situation, especially after major life changes, to ensure your fund remains adequate.
Can I rely on credit cards instead of cash for emergencies?
While credit cards can provide a safety net, having cash on hand is essential for immediate access and security.
Conclusion
To wrap up, determining how much cash to keep for emergencies is a personal decision influenced by your monthly expenses, income stability, and financial goals. A good starting point is to maintain three to six months’ worth of living expenses, ensuring you have enough to cover unexpected situations. Regularly reassess your cash reserves and adjust them based on changes in your financial circumstances. Prioritizing accessibility and safety in your cash storage will provide peace of mind and financial security in times of need.
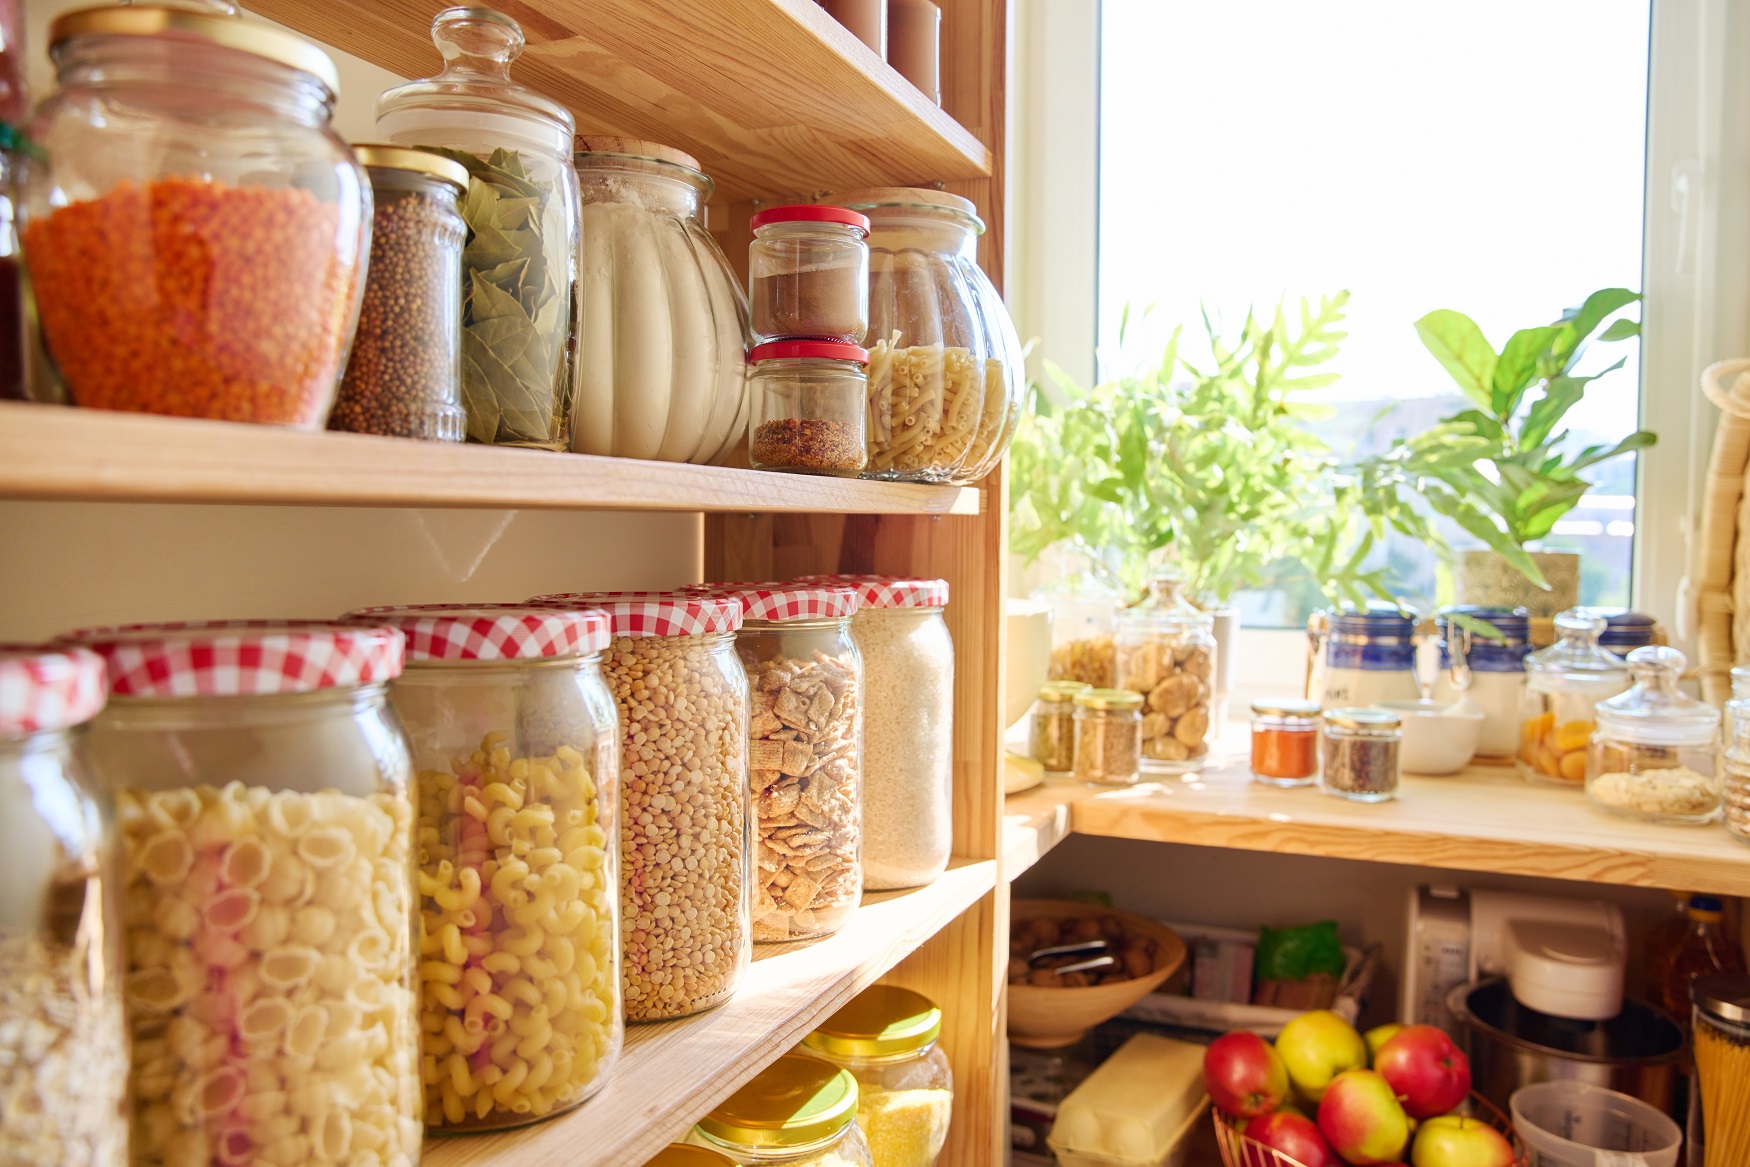
Understanding what to look for can prevent wasted resources and potential health hazards. Common indicators of spoiled emergency food include expired dates, off-putting smells, and visible signs of mold. It’s also important to consider that even if food appears normal, it may still be unsafe if stored improperly or for an extended period. Regular checks of your emergency food supply can help identify issues before they become serious.
Another common mistake is assuming that canned goods are safe indefinitely. While many canned foods have a long shelf life, they can still spoil if the can is damaged or if they are stored in extreme temperatures. Prioritizing proper storage conditions and routine inspections can help maintain the integrity of your emergency food supply.
Visual Indicators of Spoilage
Visual changes are often the first signs that emergency food has gone bad. Look for discoloration, which can indicate spoilage or contamination. For instance, dried fruits may darken, while canned vegetables can show rust or leakage. These changes often signal that the food is no longer safe to eat.
When assessing canned goods, check for bulging lids or leaks, which are clear indicators of bacterial growth. If you find these signs, it’s best to discard the can. Additionally, any food that shows visible mold should be considered unsafe. Remember, if in doubt, throw it out to avoid health risks.
It’s also wise to monitor the appearance of grains and legumes. If you notice changes in color or the presence of insects, this could indicate spoilage. Regularly inspecting your supply can help catch issues early, allowing you to replace items before they become a health hazard.
Smell and Texture Changes
Changes in smell and texture are critical indicators that emergency food has gone bad. If food emits a sour, rancid, or off odor, it is likely spoiled. For example, dried foods may develop a musty smell, while canned goods can produce a foul odor when opened.
Texture changes are also telling. If food becomes excessively hard, mushy, or develops a slimy coating, these are signs of spoilage. For instance, pasta may become brittle, while canned fruits might turn overly soft. These changes not only affect quality but can also pose health risks.
It’s vital to trust your senses. If something smells or feels wrong, it’s better to err on the side of caution. Discard any food that raises concerns about its safety. Regular checks can help ensure that your emergency supplies remain safe and usable.
Packaging Integrity and Expiration Dates
Checking the integrity of packaging is essential in determining if emergency food has gone bad. Torn, punctured, or rusted packaging can compromise the food inside, leading to spoilage. Always inspect packaging for any signs of damage before consuming the food.
Expiration dates are also a critical factor. Many foods have a ‘best by’ date that indicates the period during which they are expected to maintain peak quality. Consuming food past this date does not always mean it’s unsafe, but it can affect flavor and texture. Always cross-reference expiration dates with storage conditions to assess safety.
In addition to expiration dates, consider the type of food. Some items, like dried beans and grains, can last much longer than their suggested dates if stored properly. Regularly review your supply and prioritize using items nearing their expiration dates first.
Common Mistakes to Avoid
A common mistake is ignoring signs of spoilage due to a belief that food is still safe if it appears normal. Many people overlook subtle changes that can indicate spoilage, such as slight discoloration or a faint odor. It’s essential to be vigilant and not rely solely on appearance.
Another mistake is failing to rotate your emergency food supply. Implementing a first-in, first-out (FIFO) system ensures that older items are consumed first, reducing the risk of spoilage. Regularly checking and updating your supplies can help maintain food safety.
All in all, do not underestimate the importance of proper storage. Many foods can spoil prematurely if not stored at the correct temperature and humidity. Ensure that your emergency food is kept in a cool, dry place, away from direct sunlight and moisture.
Further Reading
Authoritative Sources
USDA Food Safety and Inspection Service fsis.usda.gov
This resource provides comprehensive information on food safety, including storage guidelines and spoilage indicators
Frequently Asked Questions
How long can emergency food last?
Emergency food can last anywhere from a few months to several years, depending on the type of food and storage conditions.
What should I do if I find mold on my emergency food?
Discard any food with visible mold, as it can pose serious health risks.
Can I eat canned food after the expiration date?
While some canned foods may still be safe after the expiration date, always inspect them for signs of spoilage before consuming.
How can I properly store emergency food?
Store emergency food in a cool, dry place, away from direct sunlight and moisture to maximize shelf life.
What are the signs of spoiled freeze-dried food?
Signs of spoiled freeze-dried food include changes in color, texture, and smell, as well as any signs of moisture or pests.
Many people overlook the importance of using appropriate containers and maintaining a clean environment for water storage. Common mistakes include using non-food-grade containers, which can leach harmful chemicals into the water, or failing to rotate the stored water, leading to stagnant and potentially unsafe water. Prioritizing safe storage methods can make a significant difference in the long-term viability of your water supply.
Additionally, understanding the best conditions for water storage can prevent costly errors. For instance, while it might be tempting to store water in large quantities to save space, smaller, sealed containers are often more effective for maintaining water quality over time. This approach also allows for easier rotation and monitoring of the stored water supply.
Choosing the Right Containers
Choosing the right containers is essential for safe long-term water storage. Food-grade plastic, glass, or stainless steel containers are recommended, as they do not leach harmful chemicals into the water. Always check for BPA-free labeling when selecting plastic containers. Glass containers, while heavier, are excellent for maintaining water quality due to their inert nature.
It’s also important to consider the size of the containers. Smaller containers are easier to handle and rotate, while larger containers may save space but can be cumbersome and harder to monitor for quality. Prioritize containers that can be sealed tightly to prevent contamination.
Many people mistakenly use containers that are not designed for food storage, leading to potential health risks. Always ensure that containers are specifically labeled for water storage and have been properly cleaned before use.
Sanitation Practices
Sanitation is a critical factor in ensuring the safety of stored water. Before filling any container, it should be washed with a solution of unscented household bleach and water, then rinsed thoroughly. This process helps eliminate any bacteria or contaminants that could compromise the water quality.
In addition to cleaning the containers, the water itself should be treated if it’s not from a municipal supply. Boiling or using water purification tablets can effectively kill pathogens. Remember that untreated water may harbor bacteria and viruses that can lead to illness.
A common mistake is neglecting the sanitation of both the container and the water. Without proper sanitation, even the best storage methods can fail, leading to unsafe water supplies. Make sanitation a priority before storage to ensure long-term safety.
Storage Location and Conditions
The location and conditions of your water storage are just as important as the containers used. Water should be stored in a cool, dark place, away from direct sunlight and heat sources, which can encourage bacterial growth and degrade container materials.
Ideal storage options include basements, pantries, or climate-controlled areas. Avoid storing water in areas that experience extreme temperature fluctuations, as this can affect the integrity of the containers and the quality of the water.
Many people overlook the impact of environmental conditions on stored water. For example, storing water near chemicals or cleaning supplies can lead to contamination. Always assess the surrounding environment to ensure optimal storage conditions.
Regular Maintenance and Rotation
Regular maintenance is vital for ensuring the long-term safety of stored water. It’s recommended to check the stored water every six months for clarity and odor. If the water appears cloudy or has an off smell, it should be replaced immediately.
Additionally, rotating your water supply is crucial. This means using the oldest water first and replenishing it with fresh water. This practice helps maintain the quality and safety of your water supply over time.
A frequent mistake is forgetting to rotate the water supply, leading to the risk of stagnation. Establish a schedule for regular checks and replacements to ensure your water remains safe for long-term use.
Further Reading
Authoritative Sources
MedlinePlus medlineplus.gov
Consumer-friendly medical and health information from the U.S. National Library of Medicine.
National Institutes of Health nih.gov
Research-based health information and links to authoritative medical resources.
Centers for Disease Control and Prevention cdc.gov
Official public health guidance, prevention resources, and topic-specific recommendations.
Mayo Clinic mayoclinic.org
Trusted clinical guidance, symptom explainers, and treatment overviews.
World Health Organization who.int
Global health guidance, fact sheets, and evidence-based public health information.
Frequently Asked Questions
What is the best container for long-term water storage?
The best containers are food-grade plastic, glass, or stainless steel, as they do not leach harmful chemicals.
How often should I replace stored water?
It is recommended to check and replace stored water every six months to maintain its quality.
Can I store tap water for long-term use?
Yes, but it’s important to sanitize the container and treat the water if it’s not from a municipal supply.
What temperature is ideal for water storage?
Water should be stored in a cool, dark place, ideally between 50°F and 70°F (10°C to 21°C).
Is it safe to store water in plastic containers?
Yes, as long as they are food-grade and BPA-free, plastic containers can be safe for water storage.
Conclusion
To wrap up, the best way to store water long term safely involves selecting appropriate containers, practicing diligent sanitation, and maintaining optimal storage conditions. Regular checks and replacements are essential to ensure water quality. By following these guidelines, you can ensure a safe and reliable water supply for emergencies or everyday use. Prioritize these practices to effectively manage your water storage and avoid common pitfalls.
When creating your survival kit, consider the types of emergencies you might face, such as natural disasters, power outages, or civil unrest. Each scenario may require different items, so it’s essential to tailor your kit to your specific environment and risks. Moreover, pay attention to the weight and portability of your supplies, as you may need to carry them in a hurry.
Common mistakes include overpacking items that are not immediately necessary or neglecting to include personal medications and documents. Focus on quality rather than quantity; invest in durable gear that can withstand tough conditions. Prioritizing water and food sources is vital, as these are your immediate survival needs.
Water and Food Supplies
Water and food are the cornerstones of any survival kit. Aim for at least one gallon of water per person per day, stored in durable, leak-proof containers. Non-perishable food items, such as energy bars, canned goods, and dehydrated meals, should also be included to provide necessary calories and nutrients.
When selecting food, consider options that require minimal preparation and have a long shelf life. High-calorie, lightweight foods like nuts, dried fruits, and protein bars are excellent choices. Always check expiration dates and rotate your supplies regularly to ensure freshness.
Additionally, think about water purification methods, such as filters or purification tablets, in case your water supply is contaminated. Many people overlook the importance of having adequate hydration solutions, which can lead to severe consequences in a survival situation.
First Aid Essentials
A comprehensive first aid kit is indispensable in a survival scenario. It should include adhesive bandages, sterile gauze, antiseptic wipes, pain relievers, and any personal medications. A first aid manual can also be beneficial for addressing injuries or medical emergencies.
In addition to basic supplies, consider adding items like tweezers, scissors, and a thermometer. Many kits also benefit from including emergency blankets or splints for serious injuries. Assess your specific health needs and customize your kit accordingly, ensuring you have everything necessary for your family.
Commonly overlooked items include allergy medications and prescription drugs, which can be critical in emergencies. Ensure your first aid kit is well-stocked and regularly updated to avoid using expired products.
Tools and Equipment
Multi-tools, flashlights, and fire-starting equipment are essential components of your survival kit. A reliable multi-tool can serve various purposes, from opening cans to making repairs. Choose a tool that is compact yet versatile for maximum utility.
Flashlights should be lightweight and equipped with extra batteries or a solar charging option. Additionally, fire-starting supplies like waterproof matches or lighters are crucial for warmth and cooking. Ensure that you practice using these tools before an emergency arises, as familiarity can save valuable time.
Many people underestimate the importance of having the right equipment. Assess your environment and consider incorporating gear that can address specific challenges, such as a portable stove or emergency fishing gear if you’re near water sources.
Clothing and Shelter
Appropriate clothing and shelter materials are vital for survival in harsh conditions. Pack extra clothing suitable for the climate, including thermal layers, waterproof jackets, and sturdy footwear. A compact emergency blanket or tarp can provide essential shelter if you find yourself outdoors.
When selecting clothing, prioritize items that offer protection from the elements and can be layered for versatility. Consider the weight and bulk of materials; lightweight, quick-drying fabrics are ideal.
Additionally, consider how you will stay warm and dry during your ordeal. Many people neglect to think about proper clothing and shelter, leading to hypothermia or exposure-related issues. Always test your gear beforehand to ensure reliability.
Personal Items and Documentation
Don’t forget to include personal items and important documents in your survival kit. This includes identification, emergency contacts, and health insurance cards. Having these on hand can facilitate assistance and recovery efforts.
Consider a waterproof pouch to protect these documents from water damage. You may also want to include a small amount of cash and a list of any allergies or medical conditions relevant to your care.
Many people overlook the significance of personal documentation, which can be vital in emergencies. Ensure that your personal items are easily accessible and regularly updated, especially if you change addresses or phone numbers.
Further Reading
Authoritative Sources
Ready.gov ready.gov
Official U.S. preparedness guidance, checklists, and planning resources for households and emergencies.
FEMA fema.gov
Federal emergency management resources, disaster planning information, and recovery guidance.
American Red Cross Emergency Preparedness redcross.org
Practical emergency preparation steps, supply lists, and safety guidance for families.
National Weather Service weather.gov
Official forecasts, hazard alerts, and weather safety information.
CDC Emergency Preparedness and Response cdc.gov
Public health guidance for emergencies, disasters, and recovery situations.
Frequently Asked Questions
How much water should be included in a survival kit?
Aim for at least one gallon of water per person per day for three days, totaling three gallons for each person in your kit.
What types of food are best for a survival kit?
Non-perishable, lightweight foods such as energy bars, canned goods, and dehydrated meals are ideal choices for a survival kit.
Should I include a first aid kit in my survival kit?
Yes, a comprehensive first aid kit is essential for addressing injuries and medical emergencies during a survival situation.
What tools should I have in my survival kit?
A multi-tool, flashlight, and fire-starting equipment are crucial tools that can assist in various survival tasks.
How often should I update my survival kit?
Regularly check and update your survival kit every six months to ensure all items are in good condition and not expired.
Conclusion
Assembling a well-rounded 72-hour survival kit is an essential step in emergency preparedness. Focus on including adequate water and food supplies, a comprehensive first aid kit, versatile tools, appropriate clothing, and personal documentation. Regularly review and update your kit to ensure it meets your needs and remains functional. By taking the time to prepare, you position yourself for better outcomes in unforeseen situations.
Understanding the urgency of the situation can help prioritize actions. The lack of clean water can lead to dehydration, increased risk of disease, and sanitation issues. In a pinch, having a reliable water purification method, such as boiling, filtering, or using tablets, can make contaminated water safe to drink. Additionally, maintaining hygiene practices is vital to prevent illness.
One common mistake during a water crisis is to underestimate the importance of sanitation. Without clean water, hygiene can suffer, leading to further health complications. Always ensure you have a backup plan for sanitation, including handwashing supplies or alternatives when clean water is unavailable.
Identifying Alternative Water Sources
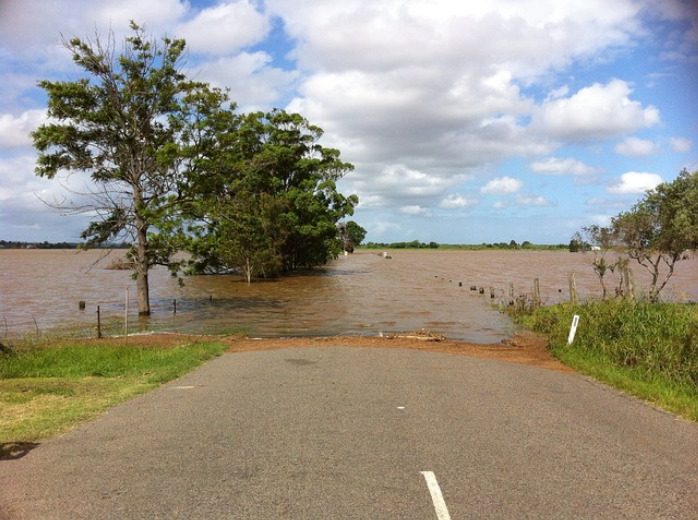
Identifying alternative water sources is the first step when clean water runs out. Look for rainwater, which can be collected using buckets or barrels, or consider snow if available. Nearby lakes or rivers may also provide water, but they must be treated before consumption.
When selecting sources, consider the potential contaminants. For instance, urban runoff can introduce pollutants into rainwater, while surface water may contain pathogens. Assessing the quality of water sources is crucial for your safety.
It’s also wise to have a plan for sourcing water in various scenarios. For instance, if you live in a drought-prone area, explore options for rainwater harvesting systems. In emergencies, knowing where to find water can save time and ensure you remain hydrated.
Purification Methods for Safety
Once you have identified water sources, the next step is purification. Boiling water for at least one minute is one of the most effective methods to kill pathogens. If boiling isn’t feasible, using water purification tablets or filters designed for emergency situations can be effective.
Different purification methods have various effectiveness rates against specific contaminants. For example, activated carbon filters can remove chemicals and improve taste, while UV light systems can eliminate bacteria and viruses. Understanding these methods can help you choose the best option based on the water source.
Moreover, many people overlook the importance of following manufacturer instructions for water purification systems. Ensure you are using products correctly to maximize their effectiveness, and always be aware of the limitations of your chosen method.
Sanitation and Hygiene Practices
Maintaining sanitation and hygiene is critical when clean water is scarce. Wash hands with soap and water whenever possible, and use hand sanitizers as a backup. If you lack water for personal hygiene, consider using moist towelettes or sanitizing wipes.
Proper waste disposal is another vital aspect of sanitation. When clean water is unavailable for flushing toilets, consider alternatives like portable toilets or composting toilets. Always prioritize keeping living areas clean to prevent disease outbreaks.
Additionally, many people underestimate the impact of hygiene on health during water shortages. Regularly clean surfaces and avoid sharing personal items to minimize the spread of germs. Planning for sanitation needs can significantly reduce health risks.
Emergency Water Storage Solutions
In preparation for potential water shortages, having emergency water storage solutions is essential. Store water in clean, food-grade containers, and keep it in a cool, dark place. Aim for at least one gallon per person per day for a minimum of three days.
Consider using water preservation techniques, such as adding a few drops of unscented bleach to prevent bacterial growth. Regularly check your stored water supply and replace it periodically to ensure freshness.
Many people fail to consider the importance of water storage until it’s too late. Planning ahead and establishing a reliable water storage system can provide peace of mind and security during emergencies.
Further Reading
Authoritative Sources
Ready.gov ready.gov
Official U.S. preparedness guidance, checklists, and planning resources for households and emergencies.
FEMA fema.gov
Federal emergency management resources, disaster planning information, and recovery guidance.
American Red Cross Emergency Preparedness redcross.org
Practical emergency preparation steps, supply lists, and safety guidance for families.
National Weather Service weather.gov
Official forecasts, hazard alerts, and weather safety information.
CDC Emergency Preparedness and Response cdc.gov
Public health guidance for emergencies, disasters, and recovery situations.
Frequently Asked Questions
What are the best methods to purify water in an emergency?
Boiling water, using water purification tablets, and filtering are effective methods. Each method has its strengths depending on the contaminants present.
How much water should I store for emergencies?
It is recommended to store at least one gallon of water per person per day for at least three days.
Can I drink rainwater without treatment?
While rainwater can be collected, it should be treated to ensure safety due to potential contaminants.
What should I do if I run out of clean water?
Immediately look for alternative sources, purify any water collected, and maintain hygiene practices to prevent health issues.
How can I ensure my stored water remains safe?
Use clean, food-grade containers, store in a cool, dark place, and replace water periodically to maintain freshness.
Conclusion
When clean water runs out, swift action can make a significant difference. Identifying alternative sources, utilizing effective purification methods, and prioritizing sanitation are essential steps. By preparing in advance with water storage solutions, you can mitigate the impacts of water shortages. Stay informed and proactive to ensure you and your family remain safe during a water crisis.