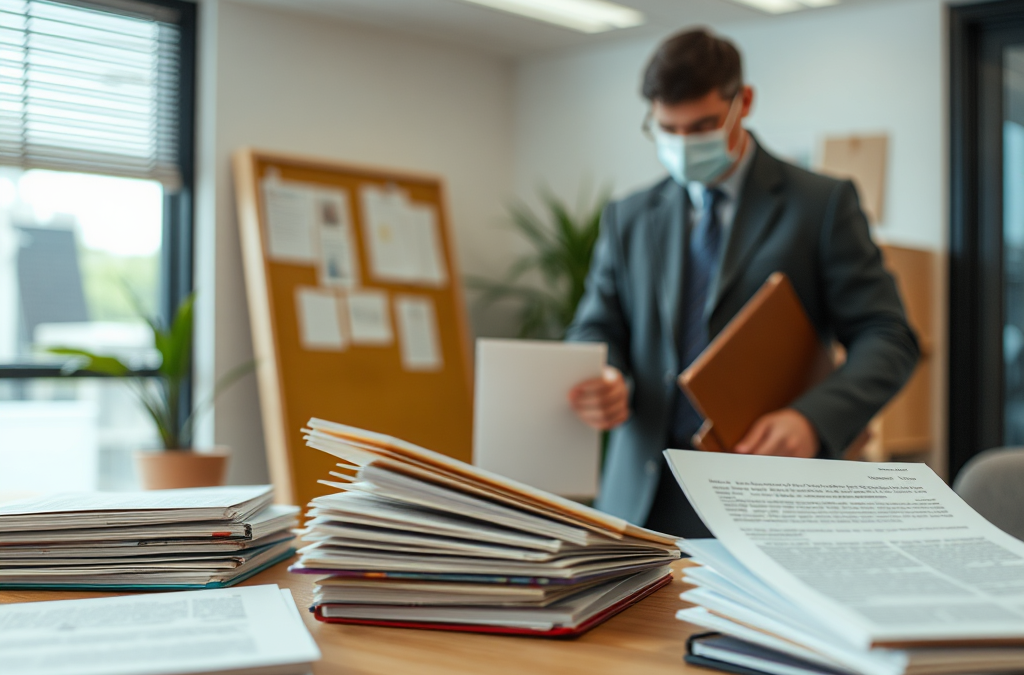
Understanding the Importance of Document Protection
Protecting sensitive documents during a crisis is crucial as these documents often contain personal information, financial records, and critical data that can lead to identity theft or significant financial loss if compromised. During emergencies, such as natural disasters or cybersecurity attacks, the risk of loss or unauthorized access increases, making it essential to have robust protection measures in place.
Many individuals and organizations overlook the importance of document security until it’s too late. The aftermath of a crisis can lead to chaos, and without a solid plan for document protection, the consequences can be severe. Understanding what sensitive documents are and the potential risks associated with their exposure is the first step in safeguarding them.
Physical Security Measures for Sensitive Documents
Implementing physical security measures is a fundamental step in protecting sensitive documents. This includes using fireproof and waterproof safes to store physical copies of important documents. Such safes not only protect against natural disasters but also deter unauthorized access.
When selecting a safe, consider the following key factors: size, locking mechanism, and fire/water resistance ratings. For instance, a safe rated for 1 hour of fire resistance at 1700°F is suitable for protecting documents against most fire-related incidents. Additionally, ensure that the safe is placed in a discreet location to minimize the risk of theft.
Another important aspect is limiting access to sensitive documents. Only authorized personnel should have access to these documents. Implementing a check-out/check-in system can help track who accesses documents and when. This accountability can deter unauthorized access and ensure that sensitive information is only handled by those who need it.
Digital Backup Strategies
In today’s digital age, having digital backups of sensitive documents is essential. This not only ensures that documents are retrievable in case of physical loss but also allows for easier sharing and collaboration during a crisis. Cloud storage solutions offer a convenient way to store and access documents securely, provided they are encrypted.
When choosing a cloud storage provider, look for features such as end-to-end encryption, two-factor authentication, and regular security audits. Additionally, it is important to regularly update and maintain digital backups to ensure they are current and reliable. Implementing a schedule for backup can help automate this process and reduce the risk of human error.
Moreover, be cautious about the types of documents stored in the cloud. Sensitive information should be protected with strong passwords and encryption to prevent unauthorized access. Regularly review access permissions and ensure that only necessary personnel can view or edit these documents.
Creating a Document Handling Protocol
Establishing a clear document handling protocol is vital for maintaining the security of sensitive documents during a crisis. This protocol should outline the procedures for accessing, sharing, and disposing of sensitive information. Training staff on these procedures ensures everyone understands their responsibilities and the importance of document protection.
For example, during an emergency, it may be necessary to share sensitive documents with external parties. In such cases, it is crucial to have a protocol in place that dictates how and when this information can be shared. This might include using secure email services or encrypted file sharing platforms.
Additionally, regular drills and training sessions can help reinforce the importance of following the protocol. These sessions can highlight common mistakes, such as neglecting to lock safes or failing to use secure communication methods, which can lead to data breaches.
Further Reading
For more information on document security, consider exploring resources from reputable organizations that focus on data protection and crisis management.
Authoritative Sources
NIST Cybersecurity Framework nist.gov
A comprehensive framework for managing cybersecurity risks, including protecting sensitive information
CISA Cybersecurity Resources us-cert.cisa.gov
Offers resources for securing sensitive data and responding to cybersecurity incidents
Privacy Rights Clearinghouse privacyrights.org
Provides information on protecting personal information and understanding privacy rights
Maintaining hygiene without running water is essential for preventing the spread of germs and infections, especially in situations where water is not readily available, such as during emergencies, camping, or in areas with limited resources. In such circumstances, understanding the risks associated with poor hygiene practices becomes critical. Without proper hygiene, individuals can face health risks, including gastrointestinal infections and skin irritations.
Furthermore, the ability to maintain cleanliness can significantly impact mental well-being. Feeling clean boosts morale and contributes to a sense of normalcy, even in challenging conditions. Therefore, implementing effective strategies for hygiene can enhance both physical health and psychological resilience.
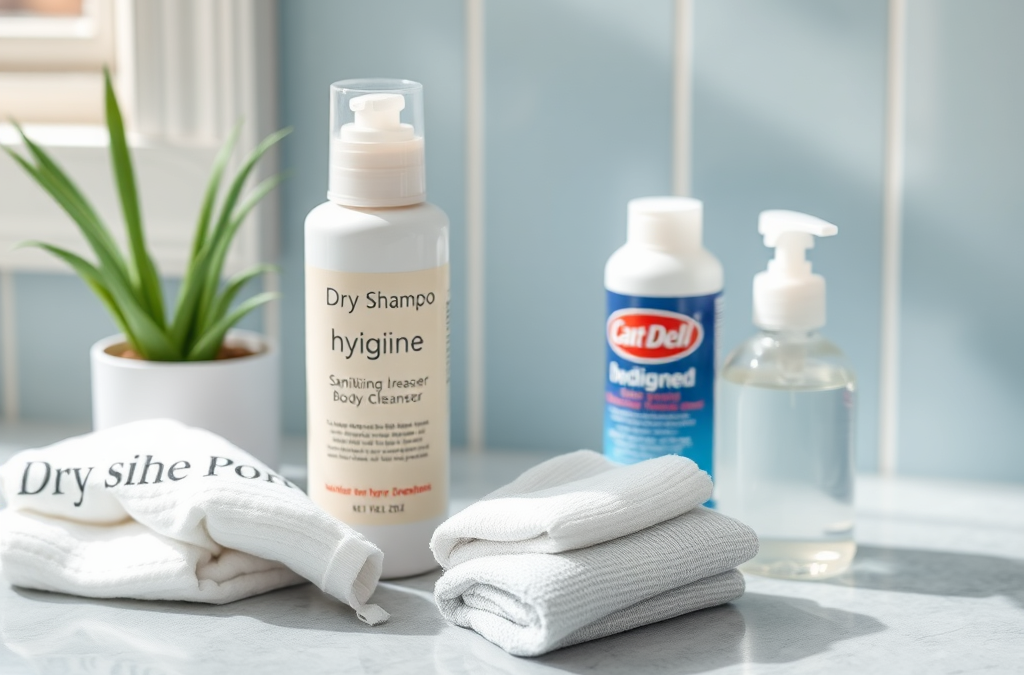
Effective Dry Cleaning Techniques
Dry cleaning techniques are vital when water is scarce. These methods include using dry shampoo for hair, body wipes for skin, and specific products designed for clothing. Dry shampoo absorbs oil and dirt from the scalp, allowing individuals to maintain a clean appearance without water. It’s essential to apply it correctly by parting the hair and spraying it directly onto the roots, then massaging it in to distribute evenly.
Body wipes, often infused with cleansing agents, can effectively remove sweat and dirt from the skin. These wipes are convenient for quick freshening up and can be found in various formulations, including antibacterial options. When using body wipes, focus on areas prone to sweat and odor, such as underarms and feet.
For clothing, consider using fabric freshening sprays that help eliminate odors without washing. This is particularly useful for maintaining a clean appearance when laundry facilities are not available. However, it’s important to remember that these methods do not replace thorough cleaning but are effective for temporary solutions.
Utilizing Sanitizing Products
Sanitizing products play a crucial role in maintaining hygiene when running water is not accessible. Alcohol-based hand sanitizers are a primary defense against germs. They should contain at least 60% alcohol to be effective. Regular use of hand sanitizer, especially after touching surfaces in public areas, can significantly reduce the risk of infections.
In addition to hand sanitizers, antibacterial wipes can be used to clean hands and surfaces. These wipes are portable and can be utilized in various settings, such as public transport, offices, or during travel. However, it’s important to allow the surface to remain wet for the recommended contact time to ensure effectiveness against pathogens.
Another option is using no-rinse body cleansers, which are designed for situations where water is not available. These products require no rinsing and can be applied directly to the skin, providing a quick and effective way to maintain cleanliness.
Alternative Bathing Methods
When running water is unavailable, alternative bathing methods become essential. Sponge baths are a traditional technique that can be adapted for modern use. This method involves using a damp cloth or sponge to clean the body, focusing on key areas like the face, underarms, and groin. It’s important to use warm water if possible, as it can help dissolve dirt and oils more effectively.
Another method is the use of portable shower systems that use limited water supply. These systems can be filled with water and pressurized to create a shower-like experience, allowing for effective rinsing without the need for a traditional shower setup. This is especially useful for camping trips or during outdoor activities.
For individuals in emergency situations, creating a simple basin with a few liters of water can also work. Dipping a cloth into the basin and wiping down the body can help maintain hygiene. It’s essential to keep the cloth clean and use separate cloths for different body parts to avoid cross-contamination.
Frequently Asked Questions
What are the best methods for maintaining hygiene without water?
Using dry shampoo, sanitizing wipes, and no-rinse body cleansers are effective methods for maintaining hygiene without water.
How effective are alcohol-based hand sanitizers?
Alcohol-based hand sanitizers are effective against many germs, provided they contain at least 60% alcohol and are used correctly.
Can I use baby wipes for cleaning myself?
Yes, baby wipes can be used for personal hygiene as they are gentle on the skin and can effectively remove dirt and sweat.
What is a sponge bath?
A sponge bath involves using a damp cloth or sponge to clean the body, focusing on key areas without the need for a full shower.
How can I keep my clothes clean without washing?
Using fabric freshening sprays and dry cleaning methods can help maintain the cleanliness of clothes without washing.
Further Reading
Authoritative Sources
Library of Congress Research Guides guides.loc.gov
Research guides that help readers locate reliable background sources on a wide range of subjects
USA.gov Official Information and Services usa.gov
Official U.S. government information and public resources for practical reference
Google Scholar scholar.google.com
Academic search resource for finding research literature and source material
Conclusion
Maintaining hygiene without running water requires creativity and resourcefulness. By utilizing dry cleaning techniques, sanitizing products, and alternative bathing methods, individuals can effectively combat germs and maintain a sense of cleanliness in challenging situations. Prioritizing hygiene not only protects physical health but also supports mental well-being, making it essential to adopt these strategies whenever access to running water is limited.
Water contamination can stem from various sources, including industrial waste, agricultural runoff, and improper waste disposal. Industrial facilities often discharge harmful chemicals directly into water bodies, while agricultural practices can introduce pesticides and fertilizers into nearby streams and rivers. Urban areas may contribute to contamination through stormwater runoff, which carries pollutants from roads and buildings into water sources. Additionally, aging infrastructure, such as lead pipes, can leach harmful substances into drinking water, posing significant health risks.
For instance, a study in Flint, Michigan, highlighted how lead leaching from aging pipes contaminated drinking water, leading to a public health crisis. Understanding these sources is essential for both individuals and communities to effectively address and mitigate the risks associated with water contamination.
Health Impacts of Contaminated Water
The health impacts of consuming contaminated water can be severe and varied. Short-term effects often include gastrointestinal illnesses, such as diarrhea and vomiting, caused by pathogens like bacteria and viruses found in polluted water. Long-term exposure to certain contaminants can lead to chronic health issues, including neurological disorders, reproductive problems, and even cancer.
For example, exposure to high levels of nitrates, commonly found in agricultural runoff, can cause methemoglobinemia or “blue baby syndrome,” which affects oxygen transport in infants. Furthermore, contaminants like heavy metals can accumulate in the body over time, leading to conditions such as lead poisoning. Recognizing these health risks emphasizes the importance of ensuring water safety and quality.
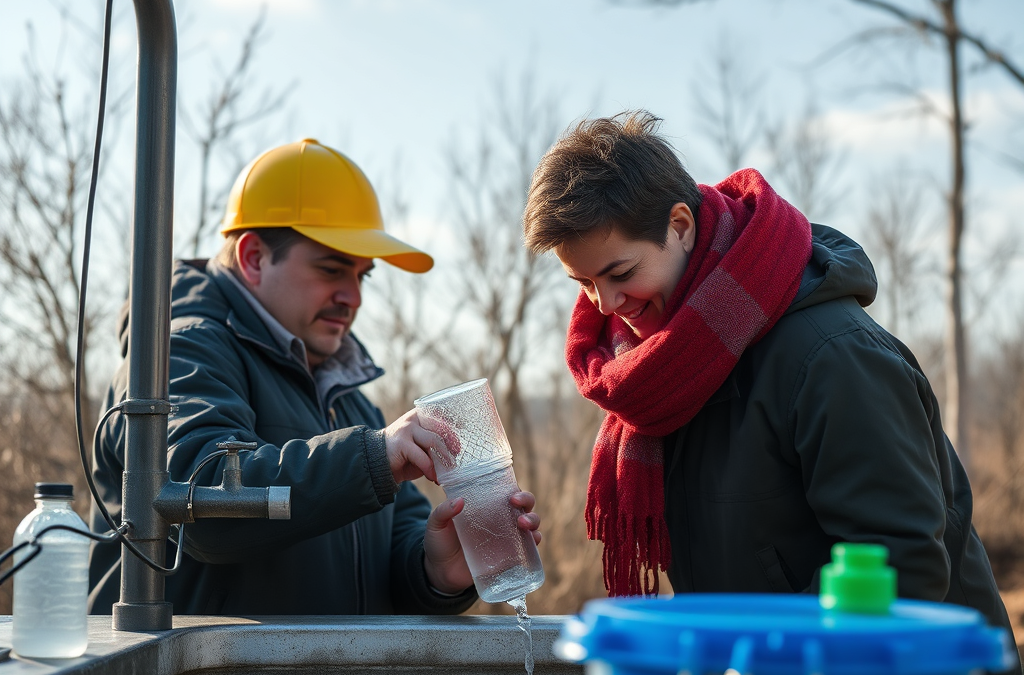
Prevention Strategies for Water Contamination
Effective prevention strategies for water contamination are critical in protecting public health. Regular water testing is essential for detecting pollutants and ensuring safe drinking water. Homeowners can invest in water filtration systems that remove specific contaminants, providing an additional layer of safety. Moreover, individuals should advocate for community water testing programs and support local initiatives aimed at improving water quality.
Additionally, education on proper waste disposal and the responsible use of fertilizers and pesticides can significantly reduce agricultural runoff. Communities can implement green infrastructure solutions, such as rain gardens and permeable pavements, to manage stormwater effectively. These proactive measures not only protect drinking water sources but also enhance overall environmental health.
Regulatory Measures and Community Action
Regulatory measures play a crucial role in preventing water contamination. Government agencies, such as the Environmental Protection Agency (EPA), establish guidelines and enforce regulations to limit pollutants in water sources. Compliance with these regulations is vital for protecting public health and the environment.
Community action is equally important in addressing water contamination issues. Grassroots organizations can raise awareness about local water quality concerns and advocate for policy changes that prioritize clean water access. Engaging citizens in monitoring water quality and participating in clean-up initiatives fosters a sense of responsibility and empowers communities to take action against contamination.
Frequently Asked Questions
What are the main causes of water contamination?
The main causes of water contamination include industrial discharge, agricultural runoff, sewage leaks, and aging infrastructure.
How can I test my water for contaminants?
You can test your water using home testing kits available at stores or by sending samples to certified laboratories for analysis.
What health issues are related to contaminated water?
Contaminated water can cause gastrointestinal illnesses, neurological disorders, reproductive issues, and long-term health effects like cancer.
What steps can communities take to reduce water contamination?
Communities can implement regular water testing, promote responsible waste disposal, and support local environmental initiatives to reduce contamination.
How does regulatory action help prevent water contamination?
Regulatory action establishes guidelines and limits for pollutants in water, ensuring compliance and protecting public health and the environment.
Further Reading
For more information on water contamination, consider exploring resources from reputable organizations, government agencies, and research institutions that focus on environmental health and water safety.
Authoritative Sources
EPA Water Pollution epa.gov
A comprehensive resource on water pollution sources, effects, and regulations from the U.S. Environmental Protection Agency
CDC Healthy Water cdc.gov
Guidelines and information on ensuring safe drinking water and preventing waterborne diseases from the Centers for Disease Control and Prevention
WHO Water Sanitation who.int
A global perspective on water quality, sanitation, and health from the World Health Organization, including resources for improving water safety
Conclusion
Understanding the risks of water contamination is vital for safeguarding public health and the environment. By recognizing common sources, health impacts, and effective prevention strategies, individuals and communities can take proactive steps to ensure safe drinking water. Engaging in regular water testing, advocating for regulatory measures, and promoting community action are essential components in the fight against water contamination. Prioritizing these efforts will not only protect current populations but also future generations from the dangers of contaminated water.
Securing your home against natural disasters begins with a clear understanding of the risks associated with your geographical location. Different areas face unique threats such as hurricanes, earthquakes, floods, or wildfires. Conduct a thorough risk assessment to identify the types of disasters most likely to occur in your region. This knowledge allows homeowners to prioritize their preparations and focus on the most relevant hazards.
For instance, homes in coastal areas may need to prepare for hurricanes by installing storm shutters and reinforcing roofs, while those in earthquake-prone regions should focus on securing heavy furniture and retrofitting their foundations. Knowing your risks helps in making informed decisions about necessary home improvements and emergency planning.
Fortifying Your Home Structure
Once you understand the risks, the next step in securing your home involves fortifying its structure. This can include reinforcing doors and windows, installing storm shutters, and ensuring the roof can withstand high winds. For homes in flood-prone areas, elevating the foundation or installing flood vents can significantly reduce water damage risks.
Another important aspect is ensuring that your home’s utilities are safeguarded. For example, securing gas lines can prevent leaks during earthquakes, while ensuring that electrical systems are up to code can help prevent fires during storms. Regular inspections and maintenance can help identify vulnerabilities and ensure that your home is prepared for extreme weather events.
Emergency Preparedness Plans
Creating a comprehensive emergency preparedness plan is crucial for ensuring the safety of all household members during a natural disaster. This plan should include evacuation routes, designated meeting points, and communication strategies. Ensure that all family members understand their roles and responsibilities in the event of an emergency.
Practice drills regularly to familiarize everyone with the procedures. In addition, keep an updated contact list of emergency services and local shelters. A well-documented plan can save valuable time and reduce panic during a disaster, enabling a more efficient response.
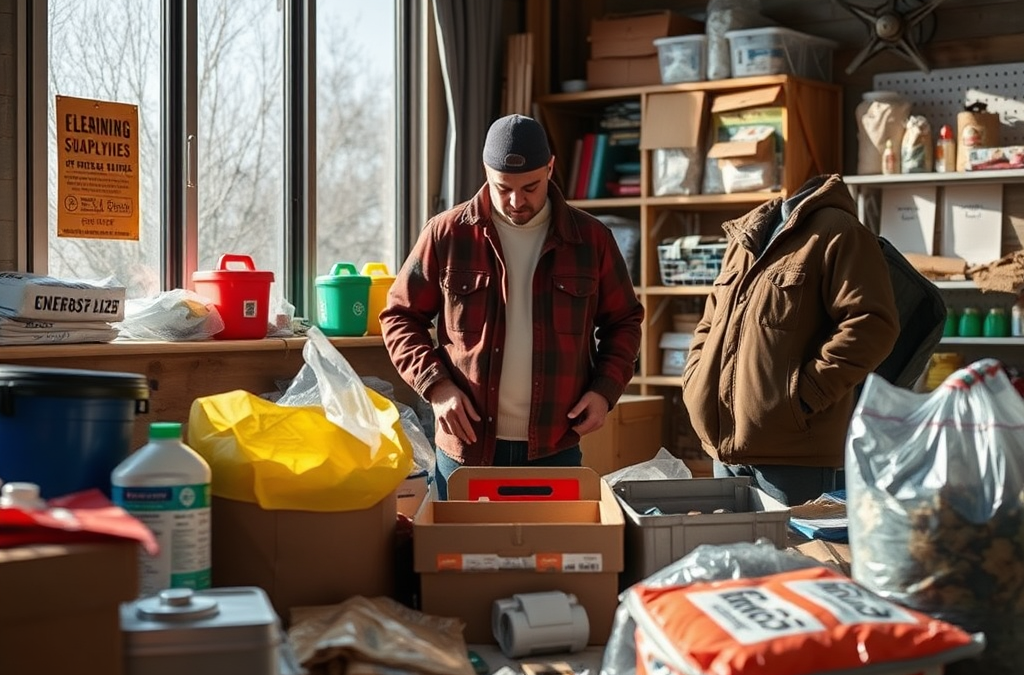
Creating a Disaster Supply Kit
A disaster supply kit is an essential component of home preparedness. This kit should include non-perishable food, water, first aid supplies, flashlights, batteries, and important documents. Aim to prepare a kit that can sustain your family for at least 72 hours.
Regularly check and update your kit to replace expired items and adjust supplies based on family needs, such as including baby formula or pet food if applicable. Involve all family members in assembling the kit to ensure that everyone knows where it is stored and what it contains.
Frequently Asked Questions
What are the most common natural disasters I should prepare for?
The most common natural disasters vary by region but often include hurricanes, floods, earthquakes, tornadoes, and wildfires. Assess your local risks to focus your preparations.
How can I reinforce my home's windows against storms?
Installing storm shutters or impact-resistant glass can significantly reinforce your windows against storm damage. Consider also using plywood as a temporary measure.
What should I include in my emergency preparedness plan?
Your emergency plan should include evacuation routes, emergency contacts, a communication strategy, and a designated meeting place for family members.
How often should I update my disaster supply kit?
It's advisable to check and update your disaster supply kit at least twice a year, replacing expired items and adjusting supplies as family needs change.
What are some common mistakes people make in disaster preparedness?
Common mistakes include failing to assess local risks, not having a communication plan, and neglecting to regularly update emergency supplies.
Further Reading
Authoritative Sources
Ready.gov Preparedness Guidance ready.gov
Federal preparedness guidance for household planning, alerts, supplies, and emergencies
American Red Cross Emergency Preparedness redcross.org
Emergency preparedness resources for families, disasters, and practical safety planning
FEMA Preparedness Resources fema.gov
National preparedness resources for planning, mitigation, and response readiness
Conclusion
Securing your home against natural disasters requires proactive planning and action. By understanding the specific risks in your area, fortifying your home, preparing an emergency plan, and assembling a disaster supply kit, you can greatly enhance your family’s safety and resilience. Regularly reviewing and updating your preparations will ensure that you are ready to respond effectively when disaster strikes.
One of the most significant mistakes people make when selecting emergency supplies is failing to assess their unique needs based on their specific circumstances. Every household is different, and factors such as location, family size, health conditions, and even pets can influence what supplies are necessary. For instance, a family with young children may need additional items such as baby formula and diapers, while those living in a flood-prone area might prioritize waterproof gear and food storage.
Understanding personal requirements is crucial because it helps in prioritizing the right supplies. For example, someone with dietary restrictions must ensure their emergency food supply meets those needs. Neglecting these specifics can lead to inadequate preparedness, resulting in panic during emergencies. To avoid this mistake, conduct a thorough assessment of your household’s needs and create a tailored list of supplies.
Quality Over Quantity
Another prevalent error is focusing on the quantity of supplies rather than their quality. Many individuals believe that having a larger stockpile of supplies will better prepare them for emergencies. However, low-quality items can fail when needed most, rendering the stockpile useless. For example, purchasing cheap flashlights may seem like a good idea initially, but if they break during a power outage, the investment is wasted.
Investing in high-quality items ensures reliability. For instance, opting for durable, well-reviewed multi-tools and first-aid kits can significantly enhance preparedness. Moreover, quality items tend to have longer shelf lives, which means less frequent replacements. In this context, consider the long-term value of your purchases and prioritize items from reputable brands known for their reliability.
Regularly Updating Your Supplies
Many people overlook the importance of regularly updating their emergency supplies. Items like food and medications have expiration dates, and failing to replace them can lead to a false sense of security. A common mistake is stocking up on supplies and then forgetting about them until an emergency arises, only to find that many items have expired or degraded in quality.
To mitigate this risk, establish a routine to check and refresh your supplies at least once a year. During this review, check expiration dates, replace expired items, and assess whether your current supplies still meet your needs. This proactive approach not only ensures that you have reliable supplies but also allows you to adjust your stock based on any changes in your household or lifestyle.
Prioritizing Versatile Items
When selecting emergency supplies, it’s essential to prioritize versatile items that can serve multiple purposes. A common mistake is choosing specialized products that may only be useful in specific situations. For example, instead of buying various single-use items, consider multi-tools, which can perform several functions and save space.
Versatile items like water purification tablets, which can ensure safe drinking water, or a solar-powered charger, which can keep essential devices powered, are excellent choices. These items not only reduce clutter but also enhance your preparedness for various scenarios. When evaluating products, think about how each item can be utilized in multiple situations to maximize your investment.
Frequently Asked Questions
What are the most critical emergency supplies to have?
Essential emergency supplies include water, non-perishable food, a first-aid kit, a flashlight, and a multi-tool. Tailor your list based on specific needs.
How often should I check my emergency supplies?
It's advisable to check your emergency supplies at least once a year to replace expired items and adjust for any changes in your household.
What should I do if my emergency supplies expire?
Replace expired items immediately to ensure your emergency kit remains functional and reliable in case of an emergency.
Can I use regular household items as emergency supplies?
Yes, many household items can serve as emergency supplies, but ensure they meet safety and functionality standards for emergency situations.
What is the best way to store emergency supplies?
Store emergency supplies in a cool, dry place in waterproof containers to protect them from moisture and damage.
Further Reading
Authoritative Sources
Ready.gov Preparedness Guidance ready.gov
Federal preparedness guidance for household planning, alerts, supplies, and emergencies
American Red Cross Emergency Preparedness redcross.org
Emergency preparedness resources for families, disasters, and practical safety planning
FEMA Preparedness Resources fema.gov
National preparedness resources for planning, mitigation, and response readiness
Conclusion
Selecting emergency supplies requires careful consideration of personal needs, quality, regular updates, and item versatility. By avoiding common mistakes, such as neglecting unique requirements and focusing solely on quantity, you can create a more effective emergency preparedness plan. Regularly assessing and updating your supplies will ensure that you are always ready for unexpected situations. Prioritize essential items that serve multiple purposes to maximize your preparedness and enhance your confidence in facing emergencies.