
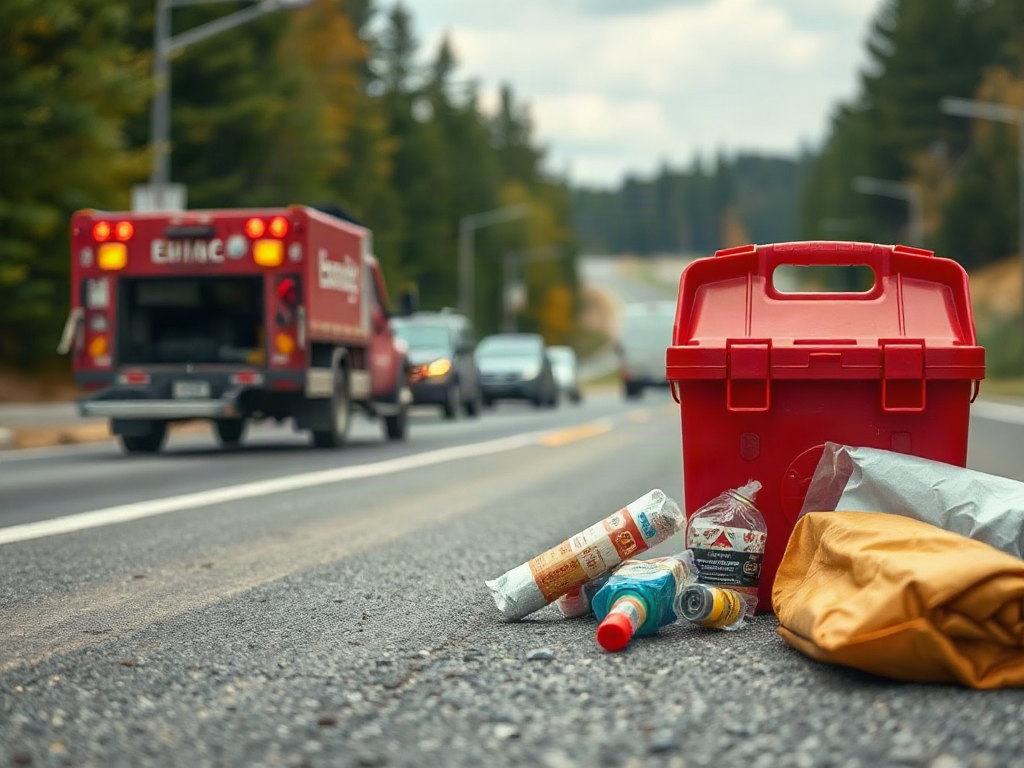
Effective roadside emergency kit selection criteria prioritize personal safety, vehicle recovery, communication, visibility, and weather exposure rather than the number of items in the case. Choose equipment that fits your vehicle, local climate, passenger needs, and likely travel routes, including a reflective warning device, reliable light, charged power bank, first-aid supplies, water, and season-appropriate protection. Confirm that recovery tools match the vehicle’s tire hardware, battery system, and safe lifting points. Avoid kits built around undersized cables, fragile tools, or expired consumables.
Which Hazards Should Your Kit Address?
A useful kit is organized around the problems a driver can reasonably face, not around an impressive item count. The main functions are making the stopped vehicle visible, contacting assistance, protecting occupants from exposure, handling minor injuries, and addressing a limited set of vehicle problems without creating additional danger. A 100-piece package may contain dozens of bandages and cable ties while lacking a dependable warning light or warm layer.
Begin with the consequences of stopping where traffic, darkness, heat, cold, or poor mobile coverage can turn a routine breakdown into a serious situation. Reflective triangles or another stable warning device help approaching drivers detect a stationary vehicle. A flashlight lets the driver inspect from a safer position without relying on a phone battery. A charged power bank preserves communication when the vehicle cannot provide power. Water and suitable clothing address the possibility that assistance takes longer than expected.
The safest choice is not necessarily the kit that enables the most repairs. Working beside moving traffic can be more hazardous than waiting inside the vehicle with a seat belt fastened, depending on the location and circumstances. A driver should not attempt a tire change on an unstable shoulder, enter a traffic lane to place equipment, touch leaking fluids, or work near smoke or fire. If the vehicle is exposed to traffic or occupants face immediate danger, moving to a safer location when possible and contacting emergency services may take priority over using any tool.
Build the kit in functional layers so one missing item does not undermine the entire plan:
- Visibility: reflective vest, stable warning devices, and a flashlight with spare or rechargeable power.
- Communication: charging cable, power bank, written contact information, and relevant roadside-assistance details.
- Occupant protection: drinking water, gloves, rain protection, blankets or warm layers, and passenger-specific supplies.
- Minor care: a clearly organized first-aid kit appropriate for basic, nonprofessional use.
- Vehicle support: only compatible, serviceable tools the driver can use safely.
For example, a commuter who travels on well-served urban roads may emphasize visibility, phone power, and weather protection. A family crossing remote areas needs more water, redundant light, extra charging capacity, and a plan for delayed assistance. The common mistake is preparing for mechanical inconvenience while overlooking the hours occupants might spend waiting. Treat people, location, and exposure as the first selection filters; repairs come after those needs.
How Should You Evaluate Tools and Supplies?
Every tool should pass four tests: compatibility, capability, durability, and usability. Compatibility asks whether the item actually fits the vehicle. Capability asks whether it can perform under the expected load. Durability covers storage in a car exposed to vibration and temperature swings. Usability means the intended driver can locate, understand, and operate it under poor light or stressful conditions.
Jumper cables illustrate why labels and appearance are insufficient. Cable length affects whether two vehicles can be positioned safely, while conductor size, clamp quality, insulation, and flexibility influence practical performance. Thin, short cables with weak clamps may be difficult to connect and may not suit a demanding start. A portable jump starter avoids the need for a second vehicle, but its rated application should match the engine, its charge must be maintained, and its instructions must be followed. Neither option should be used around a visibly damaged, leaking, frozen, or otherwise unsafe battery; the vehicle manual remains the primary source for connection points and precautions.
Tire equipment needs the same scrutiny. Confirm that the lug wrench fits the fasteners, the jack is approved for the vehicle, and the spare tire is present and properly maintained. Some vehicles use mobility kits rather than spare tires, and sealant has limitations and an expiration date. A tire inflator may address a slow pressure loss long enough to reach service, but it cannot make a severely damaged tire safe. A pressure gauge provides information; it does not substitute for inspecting the tire or following the pressure specification on the vehicle placard.
| Item | Selection Check | Common Failure |
|---|---|---|
| Warning device | Stable, bright, and visible in poor conditions | Lightweight equipment tips over or cannot be seen |
| Flashlight | Simple controls and independently stored power | Corroded, depleted, or leaking batteries |
| Jump equipment | Suitable for the vehicle and supported by clear instructions | Wrong connection method or an uncharged jump pack |
| Tire tools | Correct fit and approved lifting capacity | Missing adapter, flat spare, or incompatible wrench |
| First-aid supplies | Organized, intact, and within marked dates | Heat-damaged adhesive or expired contents |
Open a preassembled kit before trusting it. Inspect seams, clamps, handles, battery compartments, printed instructions, and expiration dates. Remove novelty tools that have no realistic purpose and replace weak components individually. A smaller collection of compatible equipment is preferable to a crowded case that delays access or creates false confidence. Signs of a sound selection include being able to identify each item in the dark, explain its intended use, and verify that it works without improvisation.
Matching the Kit to Your Vehicle, Climate, and Route
Vehicle design and travel conditions determine what belongs beyond the universal safety layer. Start by reading the owner’s manual sections covering towing, jump-starting, tire service, fuses, and emergency equipment. The manual can identify designated connection locations, lifting points, tool storage, and restrictions that a generic kit cannot anticipate. Record unusual requirements, such as a locking-wheel key or a specific tow-eye location, and keep necessary adapters where they remain accessible.
A compact city car, pickup used on rural roads, and electric vehicle do not present identical needs. Larger tires and heavier vehicles require appropriately rated equipment. Vehicles with limited cargo space benefit from a compact, secured modular kit. Electric and hybrid vehicles have high-voltage components that occupants should not attempt to service; roadside preparation should emphasize visibility, communication, manufacturer procedures, and professional assistance. A generic jump-start assumption can be especially misleading because low-voltage access and procedures vary by model.
Climate changes the waiting problem. In freezing conditions, insulated clothing, hats, gloves, blankets, and a snow brush may matter more than additional repair tools. A compact shovel can be useful where snow is common, but traction products should be selected and used with attention to local rules, vehicle instructions, and environmental concerns. In hot regions, carry drinking water in containers suitable for storage and rotate it regularly. Shade and sun protection may be practical additions, yet drivers should never remain in a dangerously hot enclosed vehicle or assume stored food, medicine, batteries, and adhesives tolerate extreme cabin temperatures.
Route risk is equally important. Daily travel through populated areas generally offers faster access to fuel, towing, and shelter. Remote highways, mountain passes, or long rural routes can involve weak reception, sparse services, changing weather, and longer waits. Before such travel, supplement the normal kit with more water, warm layers, offline route information, an additional charging option, and supplies for every passenger. Tell a reliable person the route and expected arrival when the trip warrants it.
Passenger needs deserve explicit planning. Children may need suitable clothing, food, and comfort items; older adults or passengers with disabilities may need mobility equipment and a more conservative plan for weather exposure. Essential medications require careful handling because vehicle temperatures may exceed approved storage conditions. Ask a pharmacist or other qualified professional how to transport temperature-sensitive medicine rather than leaving it permanently in the kit.
The failure mode here is copying someone else’s packing list without testing it against the actual trip. Review three scenarios—a nighttime flat, a dead low-voltage battery, and a weather-delayed tow—and ask what each occupant would need while waiting. If the kit solves only the mechanical part, it is not yet matched to the journey.
How Should a Roadside Kit Be Stored and Maintained?
A roadside kit must remain reachable after the vehicle is loaded and stable during sudden braking. Store it in a durable container secured in the cargo area rather than loose in the passenger compartment. Frequently needed safety items, such as a reflective vest, flashlight, and window-breaking or belt-cutting tool if carried, should be reachable without unloading luggage. Placement must not obstruct airbags, pedals, seat movement, emergency exits, or access to the spare tire.
Divide the equipment into labeled modules instead of creating one deep bin. A visibility pouch can hold the vest, light, and warning devices. A vehicle pouch can contain the pressure gauge, compatible tools, work gloves, and printed procedures. A separate occupant-care module can hold first-aid supplies, water, and weather protection. This arrangement reduces searching in rain or darkness and makes inspection faster. Transparent or high-contrast pouches are often more practical than identical black bags.
Inspect the kit at least twice a year and before demanding trips. Seasonal clock changes can serve as reminders, but climate and product instructions may justify more frequent checks. Test lights, recharge power banks and jump starters, look for corrosion or swelling in batteries, inspect cables and fabric, rotate water and food, and replace expired first-aid or tire-sealant products. Check the spare tire’s pressure according to the vehicle information because an unused spare can lose pressure unnoticed.
Maintenance should include a short hands-on rehearsal. Locate the jack points without lifting the vehicle, confirm the lug wrench and locking key fit, operate the flashlight, unfold warning equipment, and review jump-start instructions. Practice in a safe driveway during daylight rather than learning beside traffic. Do not crawl under a vehicle supported only by its emergency jack, and do not rehearse procedures that conflict with the manual.
Signs the system is working are simple: all critical items are accessible, charged, compatible, unexpired, and familiar to the drivers who may need them. Warning signs include a buried container, loose heavy tools, leaking batteries, heat-damaged supplies, an uncharged jump pack, or equipment no one can explain. The common misconception is that purchasing the kit completes the task. Vehicle-based supplies degrade quietly, so a modest kit with a recurring inspection schedule is more dependable than an elaborate package left untouched for years.
Conclusion
Choose roadside equipment by tracing what happens from the moment the vehicle stops: occupants need to be seen, communicate, remain protected from weather, and wait safely before any minor vehicle task is considered. Verify each tool against the owner’s manual, especially tire, lifting, towing, and battery-related equipment. Then adjust the contents for passenger needs, seasonal exposure, route remoteness, and realistic assistance times.
Open any packaged kit, remove low-value clutter, and replace questionable components with durable items you can operate confidently. Secure the container, label functional modules, and keep immediate visibility equipment within reach. Finish by scheduling two inspections each year and a check before demanding travel. If an item is incompatible, expired, uncharged, buried, or unfamiliar, it should not be counted as dependable emergency equipment.
Frequently Asked Questions
Is a preassembled roadside emergency kit worth buying?
It can provide a convenient base, but inspect every component for durability, compatibility, expiration dates, and practical value. Expect to replace weak tools and add climate-, vehicle-, and passenger-specific supplies.
What is the most important item in a roadside kit?
No single item covers every breakdown. Visibility equipment, a reliable light, communication power, and weather protection usually deserve priority because they protect occupants while assistance is arranged.
How often should a vehicle emergency kit be checked?
Check it at least twice a year and before long or remote trips. Recharge electronic devices, test lights, inspect the spare tire, and replace expired or heat-damaged contents.
Should jumper cables or a portable jump starter be included?
Either may be useful when compatible with the vehicle. Cables require another suitable vehicle; a jump starter works independently but needs periodic charging and must be used according to its instructions and the vehicle manual.
Where should a roadside kit be stored?
Secure the main container in the cargo area while keeping immediate safety items readily accessible. Do not leave heavy tools loose or place equipment where it can obstruct airbags, controls, exits, or spare-tire access.