
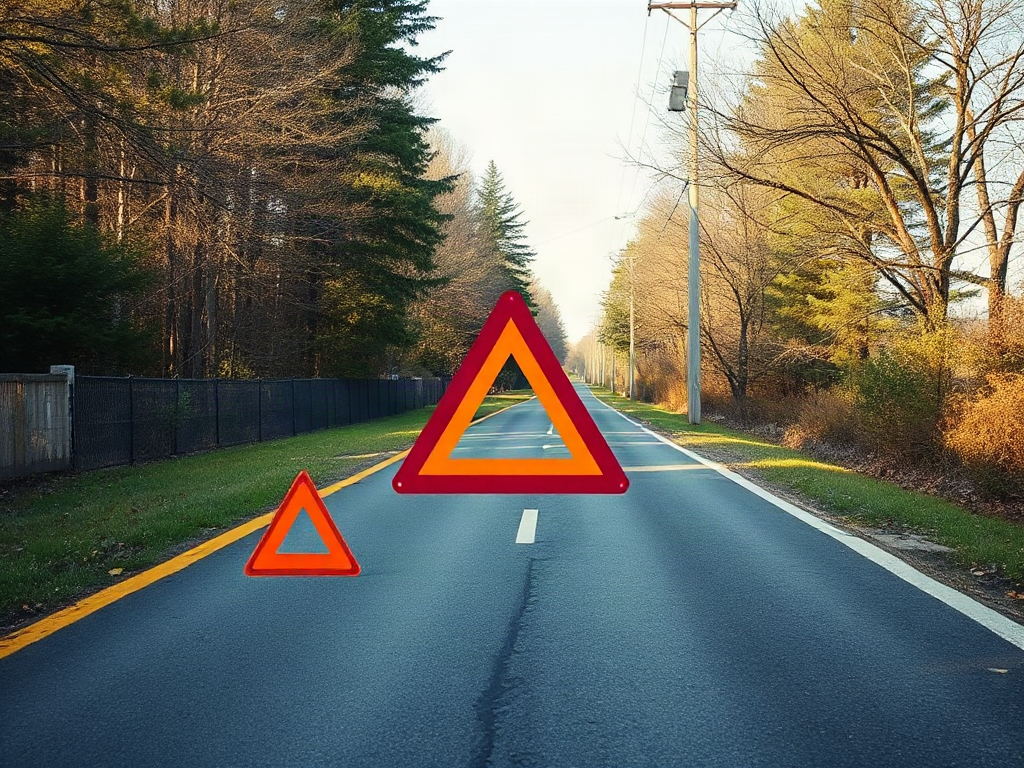
An emergency triangle placement diagram explained for roadside visibility shows where to position warning triangles behind a stopped vehicle so approaching drivers have time to react without putting the person placing them in danger. The usual priorities are activating hazard lights, choosing a safe exit path, placing triangles on the traffic-facing side, and adjusting distance for road speed, curves, hills, darkness, and weather. A triangle should never replace a safer location or emergency call, and it should not be placed where the person must walk into live traffic. Follow local road rules and the triangle manufacturer’s instructions, especially on divided highways or roads with limited shoulders.
What the Emergency Triangle Diagram Shows
An emergency triangle placement diagram is a visual map of the stopped vehicle, the direction of approaching traffic, and the warning devices placed behind or around the hazard. Its purpose is not to provide a universal measurement that works on every road. It shows the relationship between the vehicle and the sightline: drivers need to see the warning before they reach the disabled car, and the person setting it out needs a route that avoids unnecessary exposure to moving traffic.
Most diagrams show a vehicle on the shoulder with a warning triangle behind it, often supplemented by additional triangles when the road layout or local rules call for them. The triangle should face approaching traffic and stand upright on a stable surface. A device turned sideways, hidden by grass, or placed in the vehicle’s shadow may technically be present but function poorly because its reflective surface is not aimed at the people who need the warning.
The diagram is best read as a decision aid rather than a promise of safety. A straight, level road gives drivers more sight distance than a sharp bend, crest, narrow bridge, or rain-darkened roadway. A shoulder wide enough for a person to walk beside the guardrail offers a different risk profile from a highway where the vehicle is partly in a live lane. Those differences should determine whether placing a triangle is sensible at all.
Use the Emergency triangle placement diagram explained here as a planning reference, then verify local requirements before relying on a particular arrangement. Vehicle manuals, roadside assistance instructions, and the triangle’s packaging may specify a pattern that differs from a generic illustration.
Where to Place Warning Triangles
Warning triangles normally belong on the traffic-facing approach to the stopped vehicle, far enough away to give approaching drivers time to identify the obstruction and move over or slow down. The correct location depends on the road, not simply on the length of the shoulder. A device positioned immediately beside the bumper may be easy for the person placing it to reach, but it gives a following driver almost no additional reaction time.
On a two-way road, think about both directions of travel. If the vehicle creates a hazard for traffic approaching from either side, a warning arrangement may need to address both approaches, provided doing so does not expose anyone to unnecessary danger. On a divided roadway, the opposite carriageway is usually separated from the stopped vehicle’s traffic flow, so crossing or walking toward it is not a reasonable part of the placement process.
Distance should increase when the view is restricted. A triangle placed before a bend or hill crest is more useful than one placed after the obstruction, because drivers must see the warning before they reach the point where the disabled vehicle becomes visible. Yet moving it farther away can create a new risk if the route passes through traffic, debris, a drainage ditch, or an unstable shoulder. Visibility and personal access must be evaluated together.
Picture a car stopped just beyond a bend at dusk. A triangle placed close behind the car may be visible only for a moment, while a device set before the bend can warn drivers earlier. If reaching that position requires walking in the lane, staying inside the vehicle with hazard lights on and contacting roadside assistance may be safer than deploying the triangle. The best placement is the one that improves warning without creating a second casualty risk.
How Road Conditions Change Placement
Road speed, traffic volume, visibility, and surface conditions all affect how useful a warning triangle will be. Higher speeds leave less time for a driver to recognize a small object and respond, while rain, fog, snow, glare, and darkness can reduce the distance at which reflective material becomes noticeable. A diagram that looks adequate in daylight on a straight road should not be treated as a fixed answer during a storm or at night.
Curves and hills deserve special attention because they interrupt the driver’s sightline. The first triangle should be placed where it can be seen before the obstruction, not merely at a standard distance behind the vehicle. A second or third device may help define the hazard on a long approach, but more devices do not compensate for a placement route that requires standing in traffic. Follow the product instructions and applicable road rules when they specify the number or arrangement.
Surface stability also matters. A lightweight triangle can tip on loose gravel, wet grass, a sloped shoulder, or a strong crosswind. A fallen device may disappear from a driver’s view or become a projectile. Place it on the firmest practical surface, keep its face oriented toward traffic, and avoid positioning it where passing vehicles can strike it immediately. Do not improvise by standing in the lane to retrieve a device that has fallen.
Consider the difference between a quiet rural road and a multilane expressway. On the rural road, a person may have a clearer route along a broad shoulder, but drivers may approach quickly around bends. On the expressway, traffic volume and speed make roadside exposure more severe, even when the shoulder appears generous. In the second situation, hazard lights, occupants remaining behind a barrier when possible, and professional assistance may deserve priority over a perfect triangle pattern.
Common Placement Mistakes and Safer Choices
The most common error is treating the diagram as a measurement chart instead of a visibility-and-risk illustration. People may place every triangle at an identical distance without checking whether a bend, hill, parked truck, vegetation, or road furniture blocks it. Another error is assuming hazard lights make walking beside live traffic safe. They alert other road users, but they do not stop vehicles from drifting onto the shoulder.
Placement also fails when the warning device is hidden behind the vehicle, aimed away from approaching drivers, or set so close to the edge line that it blends into the pavement. A triangle should be visible from the approach that matters and should not be confused with an object that drivers can ignore. Reflective devices are generally more useful at night when illuminated by headlights, but they are not a substitute for adequate distance or a clear sightline.
Use a short priority check before opening the door:
- Can the vehicle be moved completely out of the travel lane without worsening the problem?
- Can occupants exit on the side away from traffic and reach a safer location?
- Is there a clear shoulder route for placing the device without crossing live lanes?
- Are weather, darkness, road speed, and visibility making roadside exposure unreasonable?
- Would calling roadside assistance or emergency services provide a safer response?
A frequent misconception is that more warning devices always mean more safety. Additional triangles can improve recognition on a long or winding approach, but each one requires someone to place and possibly retrieve it. If the first device already requires dangerous exposure, adding more may increase risk rather than reduce it. Use the roadside triangle reference to identify the traffic approach, then choose the least hazardous practical action.
A Practical Roadside Placement Sequence
A safe sequence begins before anyone walks away from the vehicle. Turn on hazard lights if the vehicle’s condition and local practice make that appropriate, set the parking brake, and assess whether the car is stable. Look for traffic movement, road edges, barriers, slopes, and a route to a protected position. If the vehicle is in a dangerous location, occupants should prioritize getting away from moving traffic when that can be done safely and should contact the relevant emergency or roadside service.
If placing a triangle is reasonable, carry it in a way that keeps your attention on traffic and your footing. Walk on the safest available side of the road, keep clear of the live lane, and place the device facing approaching drivers. Check it from the perspective of an oncoming driver if you can do so without re-entering danger: it should be upright, visible, and not concealed by the vehicle or roadside objects.
Return by the same protected route rather than taking a shorter path through traffic. If a triangle is lost, struck, or blown over, do not automatically go back for it. The warning device is replaceable; a person exposed to a fast-moving roadway may not have a safe opportunity to recover from a mistake.
A useful final check is simple: can a driver see the warning before reaching the stopped vehicle, and can the person placing it reach the location without becoming part of the hazard? If either answer is no, change the plan. Move the vehicle only if doing so is safe, remain in a protected position, and give responders precise information about the road, direction of travel, nearest landmark, and vehicle location. For broader preparation, the Emergency triangle placement diagram explained resource can be stored with the vehicle’s roadside kit.
For route-specific requirements, consult the vehicle owner’s manual, the warning triangle manufacturer’s instructions, and the official transportation or highway-safety authority for the jurisdiction where the breakdown occurs. Those sources are more reliable than a generic diagram when rules differ for two-way roads, divided highways, commercial vehicles, or restricted-access routes.
Frequently Asked Questions
How far behind a stopped vehicle should an emergency triangle be placed?
There is no single distance for every road. Place it far enough ahead of the hazard to provide a clear warning, adjusting for speed, curves, hills, darkness, and local rules while avoiding exposure to live traffic.
Should triangles be placed in front of the vehicle?
That depends on the road layout and which traffic movements are exposed. On a two-way road, both approaches may matter, but no front placement justifies crossing a dangerous lane or median.
Do hazard lights replace warning triangles?
No. Hazard lights make the vehicle more noticeable, while triangles can provide advance warning beyond the vehicle’s immediate location. Neither removes the need to avoid unsafe roadside exposure.
What should I do if the shoulder is too narrow?
Remain in the safest available position, keep occupants away from traffic when possible, and contact roadside assistance or emergency services. Do not walk in a live lane simply to achieve the diagram’s ideal arrangement.
Are reflective triangles effective at night?
They may reflect headlight beams and improve recognition, but effectiveness depends on orientation, visibility, distance, and weather. Keep them upright and unobstructed, and use other vehicle warning measures when appropriate.
Conclusion
An emergency triangle diagram is most useful when it teaches sightline management rather than a rigid number of steps or meters. Place the device where approaching drivers can see it before reaching the stopped vehicle, orient it toward traffic, and account for bends, hills, speed, darkness, weather, and surface stability. The person placing it remains the highest priority: a warning triangle is not worth entering a live lane, crossing a median, or walking through an unsafe shoulder. Review your vehicle’s equipment instructions before an incident, keep the triangle accessible, and learn the local roadside rules. During a breakdown, reassess the scene before opening the door and choose the arrangement that improves visibility without creating a second emergency.
Additional Resources
Authoritative Sources
- American Red Cross Emergency Preparedness
redcross.orgPractical emergency preparation, safety, and supply guidance for households.