
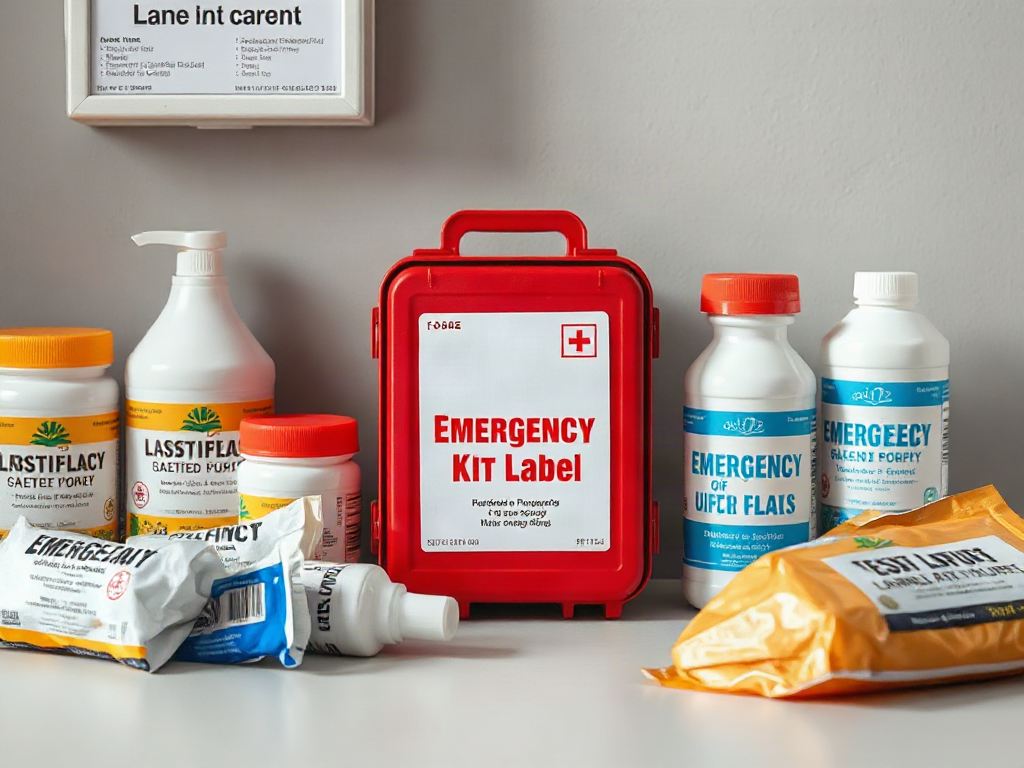
Emergency kit labels for shared supplies work best when they Use color only as a secondary cue, because low light, color-vision differences, and faded ink can make color-only systems unreliable. Keep manufacturer warnings, medication directions, lot numbers, and expiration dates visible rather than covering them with household labels. Assign one person to update inventory records, but make replenishment everyone’s responsibility through a clearly marked used-items bin or checkout sheet. Test every label for readability, adhesion, and meaning before relying on it during an evacuation or power outage.
What Information Does Every Shared-Supply Label Need?
A useful label answers what the container holds, where it belongs, who may use it, and when someone must inspect it again. Those details serve different needs. A contents name supports quick retrieval, a storage location helps an item return to the right shelf, an access note prevents accidental misuse, and a review date keeps aging stock from disappearing into the back of a cabinet.
Put the plain-language identity first and make it readable from the normal approach distance. “Water treatment supplies” is more useful on a bin than an internal code such as “WT-2.” Codes can still support an inventory sheet, but they should not force a person to find a key before opening the correct container. Under the name, add a short contents line, such as “filters, collapsible containers, and measuring cup.” Record quantities only where counting has operational value. “12 respirators” is actionable; “miscellaneous protective items” is not.
Shared supplies also need boundaries. A label might say “Household emergency use—return after use,” “Staff access,” or “First-aid lead maintains contents.” The wording should describe the actual arrangement rather than imply authority nobody has assigned. If a cabinet must remain unlocked during occupied hours, for example, do not attach a label that tells users to obtain a key from an absent coordinator.
Dates need labels of their own. Distinguish an expiration date printed by the manufacturer from a household or organizational review date. “Inspect by March 2027” means someone should check condition, count, packaging, and relevance; it does not claim that every item expires then. For opened products, write “Opened” followed by the date when that date affects storage or replacement decisions. Never invent a shelf life for an item that lacks one.
| Label Field | Example | Purpose |
|---|---|---|
| Item or category | Lighting and batteries | Supports fast recognition |
| Storage home | Utility closet, shelf B | Improves return and inventory checks |
| Access note | Shared household use | Clarifies who may take supplies |
| Count or unit | 8 headlamps | Shows when stock is incomplete |
| Review date | Inspect by March 2027 | Creates a maintenance trigger |
Do not place a new label over original instructions, hazard symbols, dosage information, model numbers, or lot codes. Secondary containers for fuel, chemicals, or medication can create serious identification risks and may be subject to specific workplace or local requirements. Retain original packaging whenever practical and consult the applicable product instructions or safety requirements before transferring such materials. The common failure is treating every supply as if it were a harmless pantry item; the better approach preserves authoritative product information while adding only the shared-kit details users genuinely need.
Which Labels Survive Emergency Kit Storage?
Label material should match the container surface and storage environment rather than the appearance of the kit. Paper labels may work inside a climate-controlled cabinet, while bins stored in a garage, vehicle, basement, or evacuation trailer face moisture, dust, heat, abrasion, and temperature swings. A neat label that curls off after one season is not a functioning identification system.
For smooth plastic bins, a quality adhesive label or laminated card in a protected holder is usually easier to maintain than writing directly on the container. Removable labels suit bins whose contents change frequently, but they can lift under humidity or handling. Permanent adhesive is more secure, yet it can leave obsolete instructions in place when a bin is reassigned. A card pocket offers flexibility if it is firmly attached and closed against water and dirt. On fabric bags, a sewn tag, luggage-style insert, or tag secured to a reinforced handle may outlast ordinary tape.
Print should remain legible under poor conditions. Use a simple typeface, strong contrast, and a size that can be read without lifting every container. Black lettering on a matte white or pale background often performs better than glossy decorative stock, which can reflect flashlight beams. Handwriting is acceptable when it is large and waterproof, but rushed abbreviations can confuse anyone who did not create the system. Test unfamiliar abbreviations with another household or team member before adopting them.
Color coding can speed recognition, but it should duplicate—not replace—written meaning. Red might mark first aid, blue water, and yellow lighting, but every container still needs text. Colors can fade, appear different in dim light, or be indistinguishable to some users. Keeping the palette small also matters; eight similar shades demand memorization and undermine the point of a quick visual cue.
A practical durability check takes only a few minutes. Apply a sample label, leave it in the intended location, and then inspect it after normal temperature and humidity exposure. Rub it with a dry hand, handle the bin by its usual grip points, and shine a flashlight across it from an angle. A working label stays attached, remains readable, and does not sit where stacked containers or hands will scrape it. If failures appear, change the adhesive, holder, or placement before labeling the full stock.
A frequent mistake is sealing every label beneath layers of clear tape. Tape can protect paper temporarily, but edges collect dirt, moisture can enter, and removal may damage the underlying container. Choose purpose-made weather-resistant stock for demanding locations and reserve simple paper for dry, stable cabinets. Durability should be proportional to exposure, not an excuse to make routine updates unnecessarily difficult.
How Should Labels Be Organized for Fast Retrieval?
A shared kit should be readable as a sequence: room or zone, cabinet or shelf, container, then individual item where necessary. This hierarchy prevents labels from becoming isolated stickers that identify objects without helping anyone navigate the storage area. The shelf label tells a user where to look; the container label confirms the category; the item label supplies instructions or ownership details.
Consider a workplace power-outage cabinet. A sign on the door might read “Outage supplies.” Shelf labels separate “Lighting,” “Communications,” and “Personal protective equipment.” The lighting bin then states “10 headlamps, spare batteries, inspection card inside.” A person does not need to remember a bin number, and the count reveals whether equipment has left the cabinet. By contrast, placing “Emergency” on every container adds no useful distinction.
Placement should reflect how people encounter the kit. Label both the top and short end of a bin if it may be stacked or pushed onto a deep shelf. Put cabinet maps at eye level rather than inside a door that may be blocked. For portable bags, identify the front and add a contact or destination card in a protected pocket if the bag could become separated from the group. Avoid displaying personal medical details, home addresses, access codes, or other sensitive information where visitors can see them.
Accessibility requires more than larger type. Use familiar words, avoid unexplained acronyms, and consider the languages actually read by the people who share the supplies. When multilingual labels are needed, keep translations together and confirm them with a proficient reader rather than relying on improvised abbreviations. Tactile markers may help distinguish a small number of critical containers, but they need to be standardized and practiced in advance. Symbols can reinforce text when their meaning is obvious; custom icons are risky because they demand training.
Use the following priority order when building the system:
- Mark the storage zone. Identify the cabinet, closet, vehicle compartment, or shelf.
- Name each container by function. Use terms such as sanitation, lighting, water, or communication.
- Add operational details. Show count, access restrictions, return location, and inspection date.
- Preserve product information. Keep warnings, directions, and original dates visible.
- Run a retrieval test. Ask someone who did not design the labels to find and return several items.
The retrieval test exposes weak assumptions quickly. If the tester opens three bins to locate gloves, the category wording or shelf arrangement is too broad. If the right item is found but returned to the wrong location, the “home” label is missing or unclear. Success means another person can locate, identify, use, and replace supplies without verbal coaching—not merely that the organizer understands the layout.
How Do You Keep Labels and Inventory Current?
Labels remain trustworthy only when use and maintenance trigger visible updates. Shared kits change whenever someone borrows a radio, opens a package, replaces a product with a different size, or moves a bin to create space. If the label still reports the original count or location, users begin to ignore all labels, including accurate ones.
Assign one named role to conduct scheduled reviews, but give every user a simple way to report a change. A clipboard attached to the cabinet can record the date, item, quantity taken, and initials. A “used or needs attention” tray works well for depleted packages, damaged equipment, and items with uncertain status. Digital inventory can support a larger workplace or community store, but it should not be the only record available during a power or network outage. A printed snapshot inside the storage area provides a practical fallback.
Review frequency should follow the supplies and the environment rather than an arbitrary universal schedule. A vehicle kit exposed to heat and vibration may warrant more frequent checks than a closet kit in stable conditions. Products with manufacturer dates need review before those dates arrive, while batteries, adhesive packaging, water containers, and frequently borrowed tools should be inspected for leakage, corrosion, damage, or missing pieces. After any emergency deployment, drill, relocation, or major household change, conduct an out-of-cycle check.
During a review, compare the physical contents with both the container label and inventory record. Confirm counts, examine packaging, test equipment where the manufacturer permits it, and remove outdated location or access notes. Replace a label rather than crossing out multiple lines until the wording becomes ambiguous. Record the completed review with a date and initials so another person can distinguish a verified check from a future reminder.
Suppose a community group changes from disposable flashlights to rechargeable headlamps. Simply placing the new devices in the old “Flashlights and D batteries” bin leaves users searching for batteries that are no longer relevant. The container name, quantity, charging instructions, cable location, and inventory sheet all need revision together. The label system is working when every representation of the supply agrees with what is physically present.
Watch for failure signals: labels with several handwritten corrections, missing inspection initials, counts that never match, supplies left beside rather than inside their assigned bin, and users who ask the organizer where routine items belong. Those signs indicate that the scheme is too complex, updates are inconvenient, or responsibility is unclear. Simplify category names, place reporting tools at the point of use, and remove fields nobody maintains. A shorter accurate label is more valuable than a detailed record that became fiction months ago.
Conclusion
Build the labeling system around retrieval, safe identification, and accurate maintenance rather than decoration. Begin at the storage zone, give each container a plain-language function, and add only the count, access, return, and review details people will actually maintain. Match adhesives and holders to the storage environment, preserve every original warning and product date, and treat color or symbols as supporting cues rather than the sole message.
The next step is a short, unannounced retrieval test with someone who did not arrange the supplies. Ask that person to find two items, identify any access restrictions, and return them correctly. Then compare the physical stock with the written count. Confusion, detached labels, mismatched records, or repeated questions show exactly where to simplify the system before an outage or evacuation makes those weaknesses consequential.
Frequently Asked Questions
Should every item in a shared emergency kit have its own label?
No. Label containers and shelves first, then label individual items when ownership, return location, opening date, instructions, or identification could otherwise be unclear. Excess labels create visual clutter and increase maintenance.
Can color coding replace written emergency supply labels?
No. Color works best as a secondary recognition cue. Written category names remain necessary because lighting, fading, printing differences, and color-vision differences can make a color-only system unreliable.
What date should be written on a shared-supply label?
Use a clearly named inspection date, and add an opened date when it affects product handling. Preserve the manufacturer’s expiration or use-by date and do not substitute a homemade date for it.
How often should emergency kit labels be checked?
Check them during every inventory review and after supplies are used, moved, damaged, or replaced. Kits exposed to vehicles, garages, moisture, or frequent borrowing generally need closer attention than stable indoor storage.
What information should not appear on an exterior label?
Avoid visible medical details, security codes, sensitive contact information, and other data that could create privacy or access risks. Keep restricted records protected while still making the supply category understandable.
Additional Resources
Authoritative Sources
- American Red Cross Emergency Preparedness
redcross.orgPractical emergency preparation, safety, and supply guidance for households.